 My
Progress
My
Progress

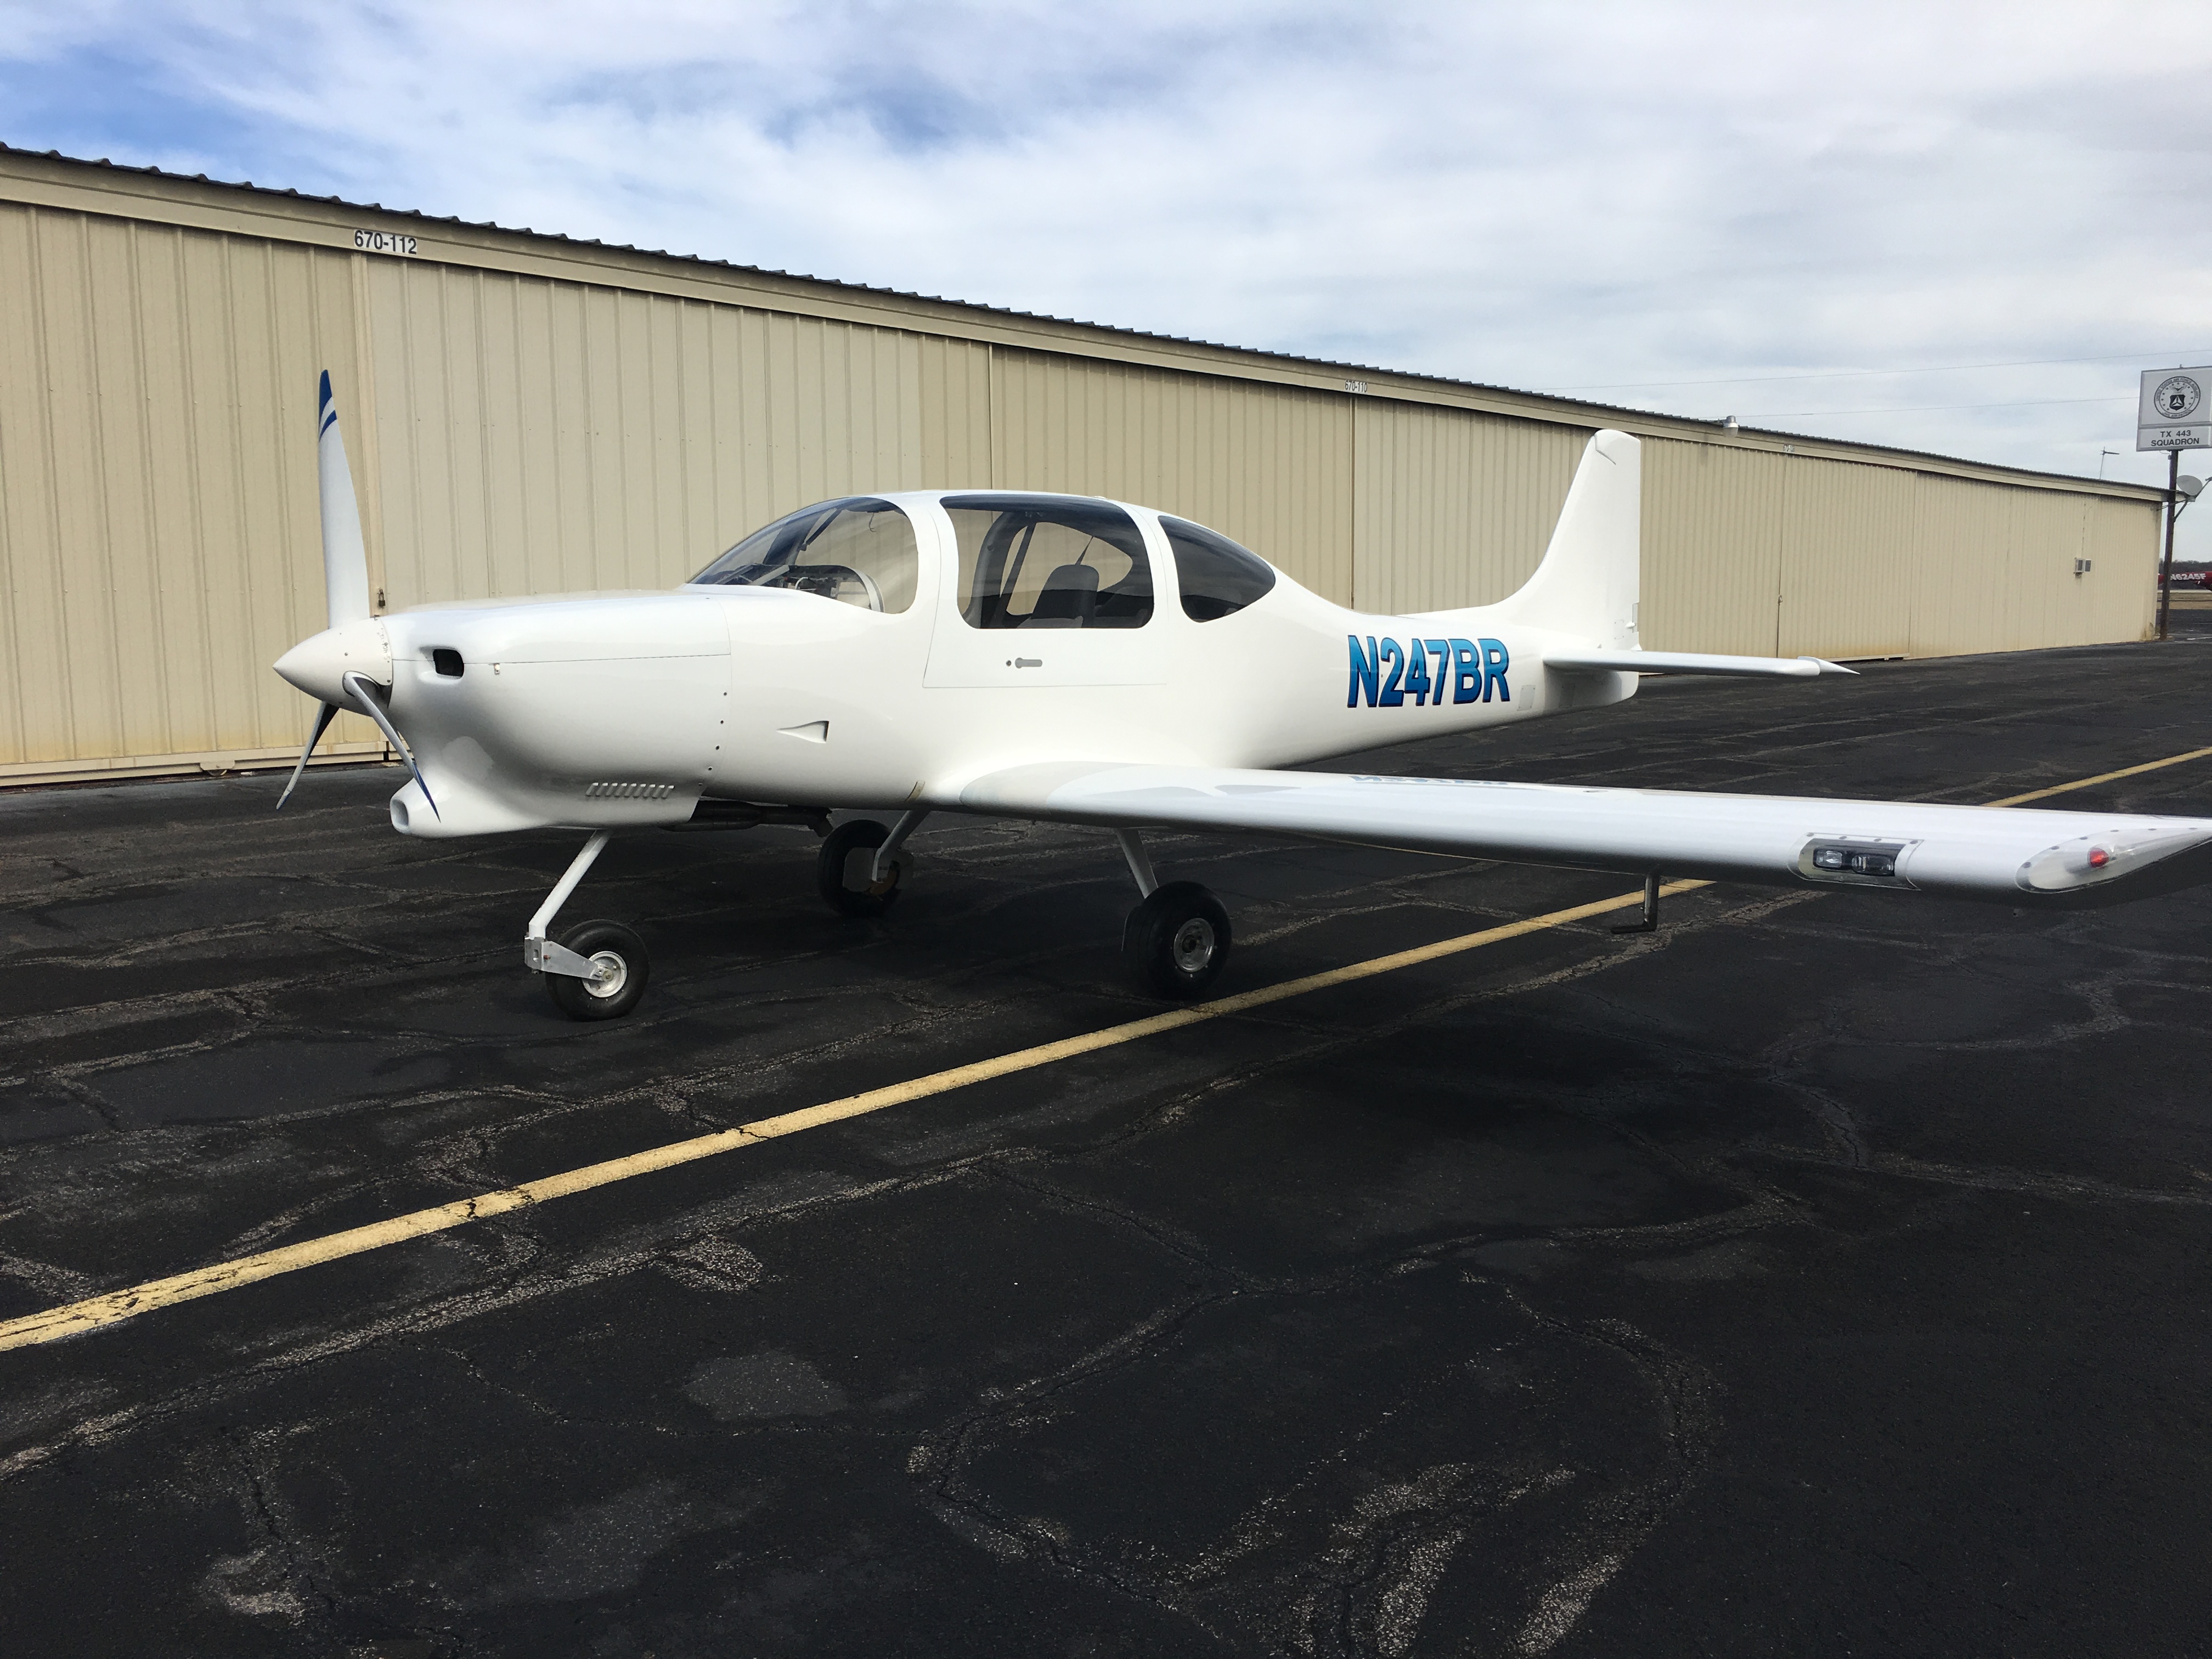
IT"S DONE, It's
passed inspection, the Required 40 Hour Test Flights have been
performed and it now resides at my new home airport in Huntsville Texas
(KUTS).
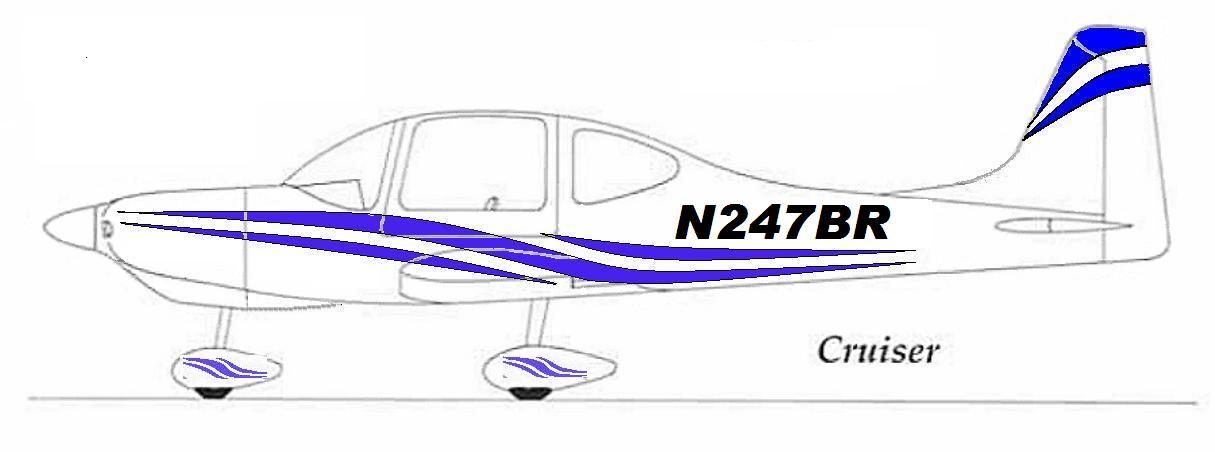
| I have played with numerous paint schemes over the years
that I have been working on the plane but never could find one that I
liked. I tried a number of similar designs but finally hit on the
following after receiving my prop from Catto Propellors. The prop
tip just flowed into the same lines and I redrew the paint scheme as
shown. I know that I will have to refine it some as it is applied
to the plane but I hope to be able to keep the basics of the design
intact. Still have NOT done the stripes. |
|
|
| |
|
|