|
I have broken the door preparation into several sections to
keep
the individual pages smaller and give some logical sections.
|
|
|
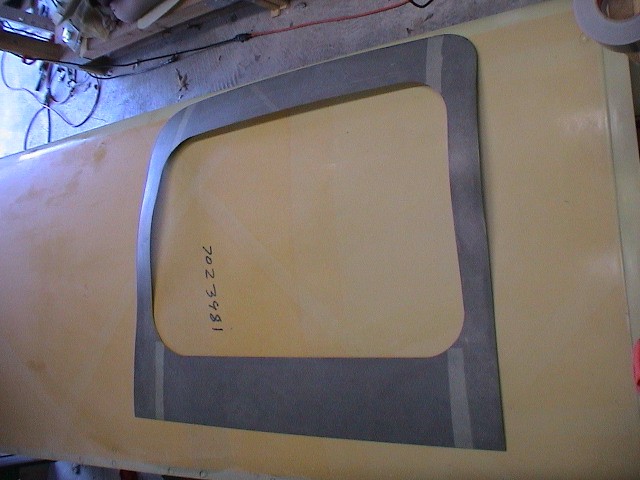 |
The door skins have to be trimmed to an etched line that
is barely cut into the outer skin. I cut to just out side the
line and carefully sanded to the line. I test fit the skin before
doing the final trim. The lines proved to be surprisingly
accurate for the outside shape but not for the window. (More on
that later.) |
 |
Fit of the skin was pretty good but did not quite fit as
well to the compound curvature of the door and the fuselage. I
used both tape and clecos to work the skin as best I could. |
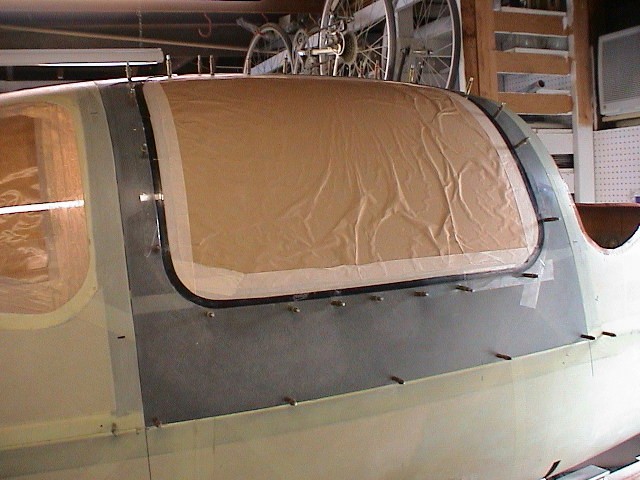 |
This shows the close fit of the right door. The
right side door came out with an excellent fit but the left side was a
much greater problem. I only had a couple of minor voids to fill
on the right side but had to cut and rebond the middle sections (front
and rear) on the pilot side. |
 |
The clecos were used to position the door skin but during
close out I applied a very tight fitting tape around the outside of the
door and the window and removed the clecos. |
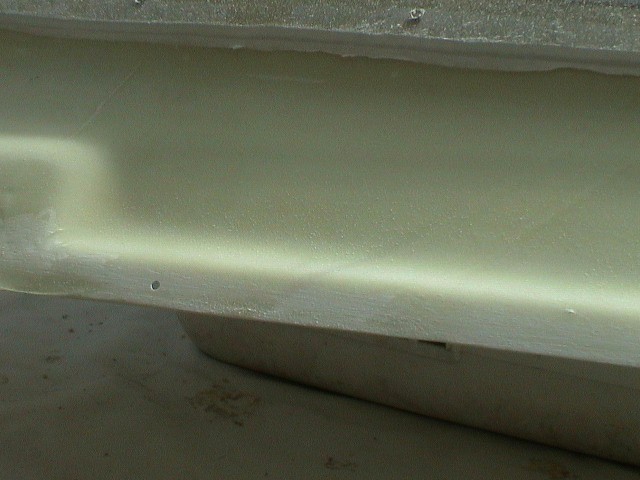 |
It was very important to carefully sand the inner door
panel as well as the inside of the door skin to ensure a uniform
thickness to the glass to be bonded. This photo shows an area
where overlapping glass caused an extra thickness to the glass. |
 |
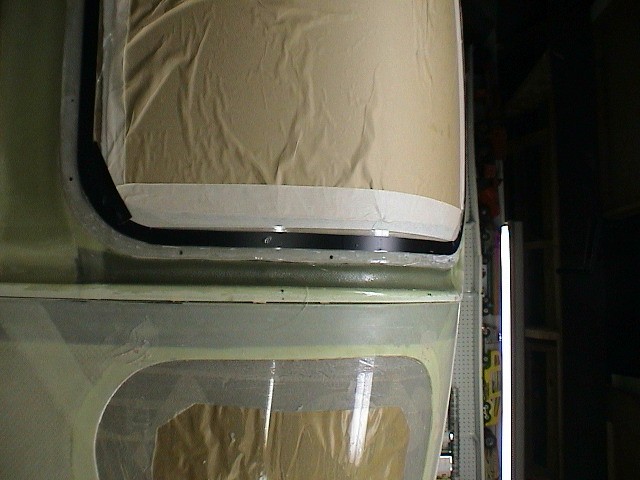
The window here has been marked and sanded to prepare the
surface for bonding. |
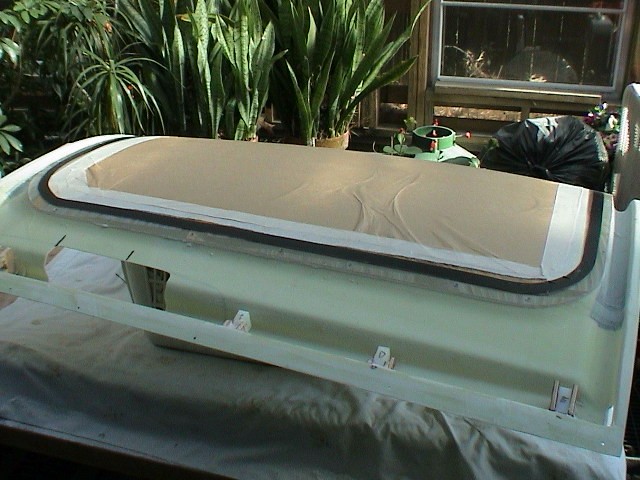 |
An extra layer of tape has been applied along the bonding
edge. This was supposed to facilitate the clean removal of one
layer of tape prior to the adhesive curing. The adhesive I used
cured much quicker than I expected and didn't do much to help. |
 |
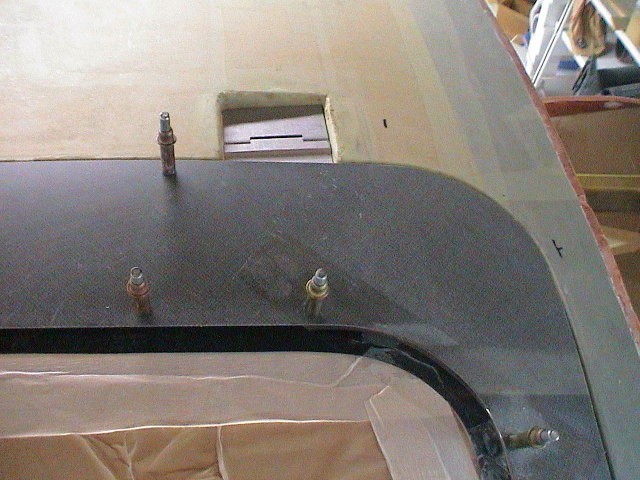
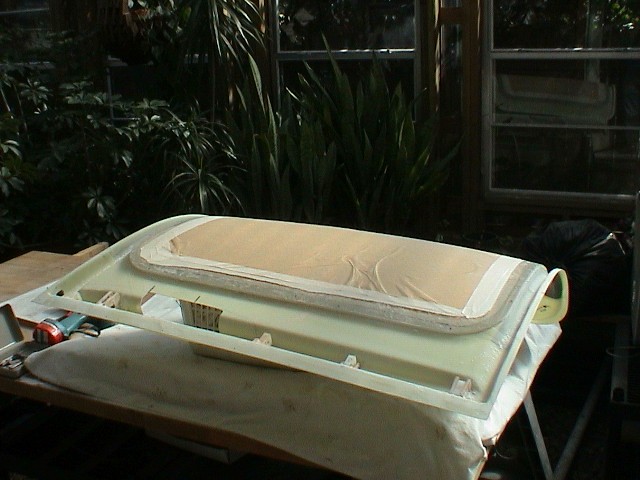
The extra layers of glass were added to both the vertical
channels to provide an area for attaching the door struts. I
located the position for the struts and installed the locking nuts in
position instead of relying on machine screws. I also added
additional glass plies across the bottom and top to add strength.
Before close I buttered a thick epoxy/flox mix to fill the area
between the inside and outside skin around the hinge area. |
| The inner door panel was placed into position
and the bonding areas buttered with adhesive. The outside skin
was also buttered and positioned using clecos. I then used tape
to hold the skin in place for curing. It worked great on one door
and not so great on the other. Not sure of why but I still
believe the tape and a minimum number of clecos was the right way to
proceed. As I mentioned above, the adhesive cured very quickly
and I had to get the clecos out (destroyed 4 in the process) and remove
the tape before I could get any photos of the close out procedure.
I was disappointed that I had tried to do too much at one time
and probably caused myself more problems than necessary. I had planned
to do each door separately but after mixing the adhesive and buttering
the bond areas on the first door, I discovered that I had prepared way
too much mixture. Instead of being smart and throwing the excess
away I continued on to the second door. That was a big mistake
and caused me to rush, the adhesive to thicken too much and I ended up
with a big problem. |