
N247BR
INTERIOR FINISH PREPARATION
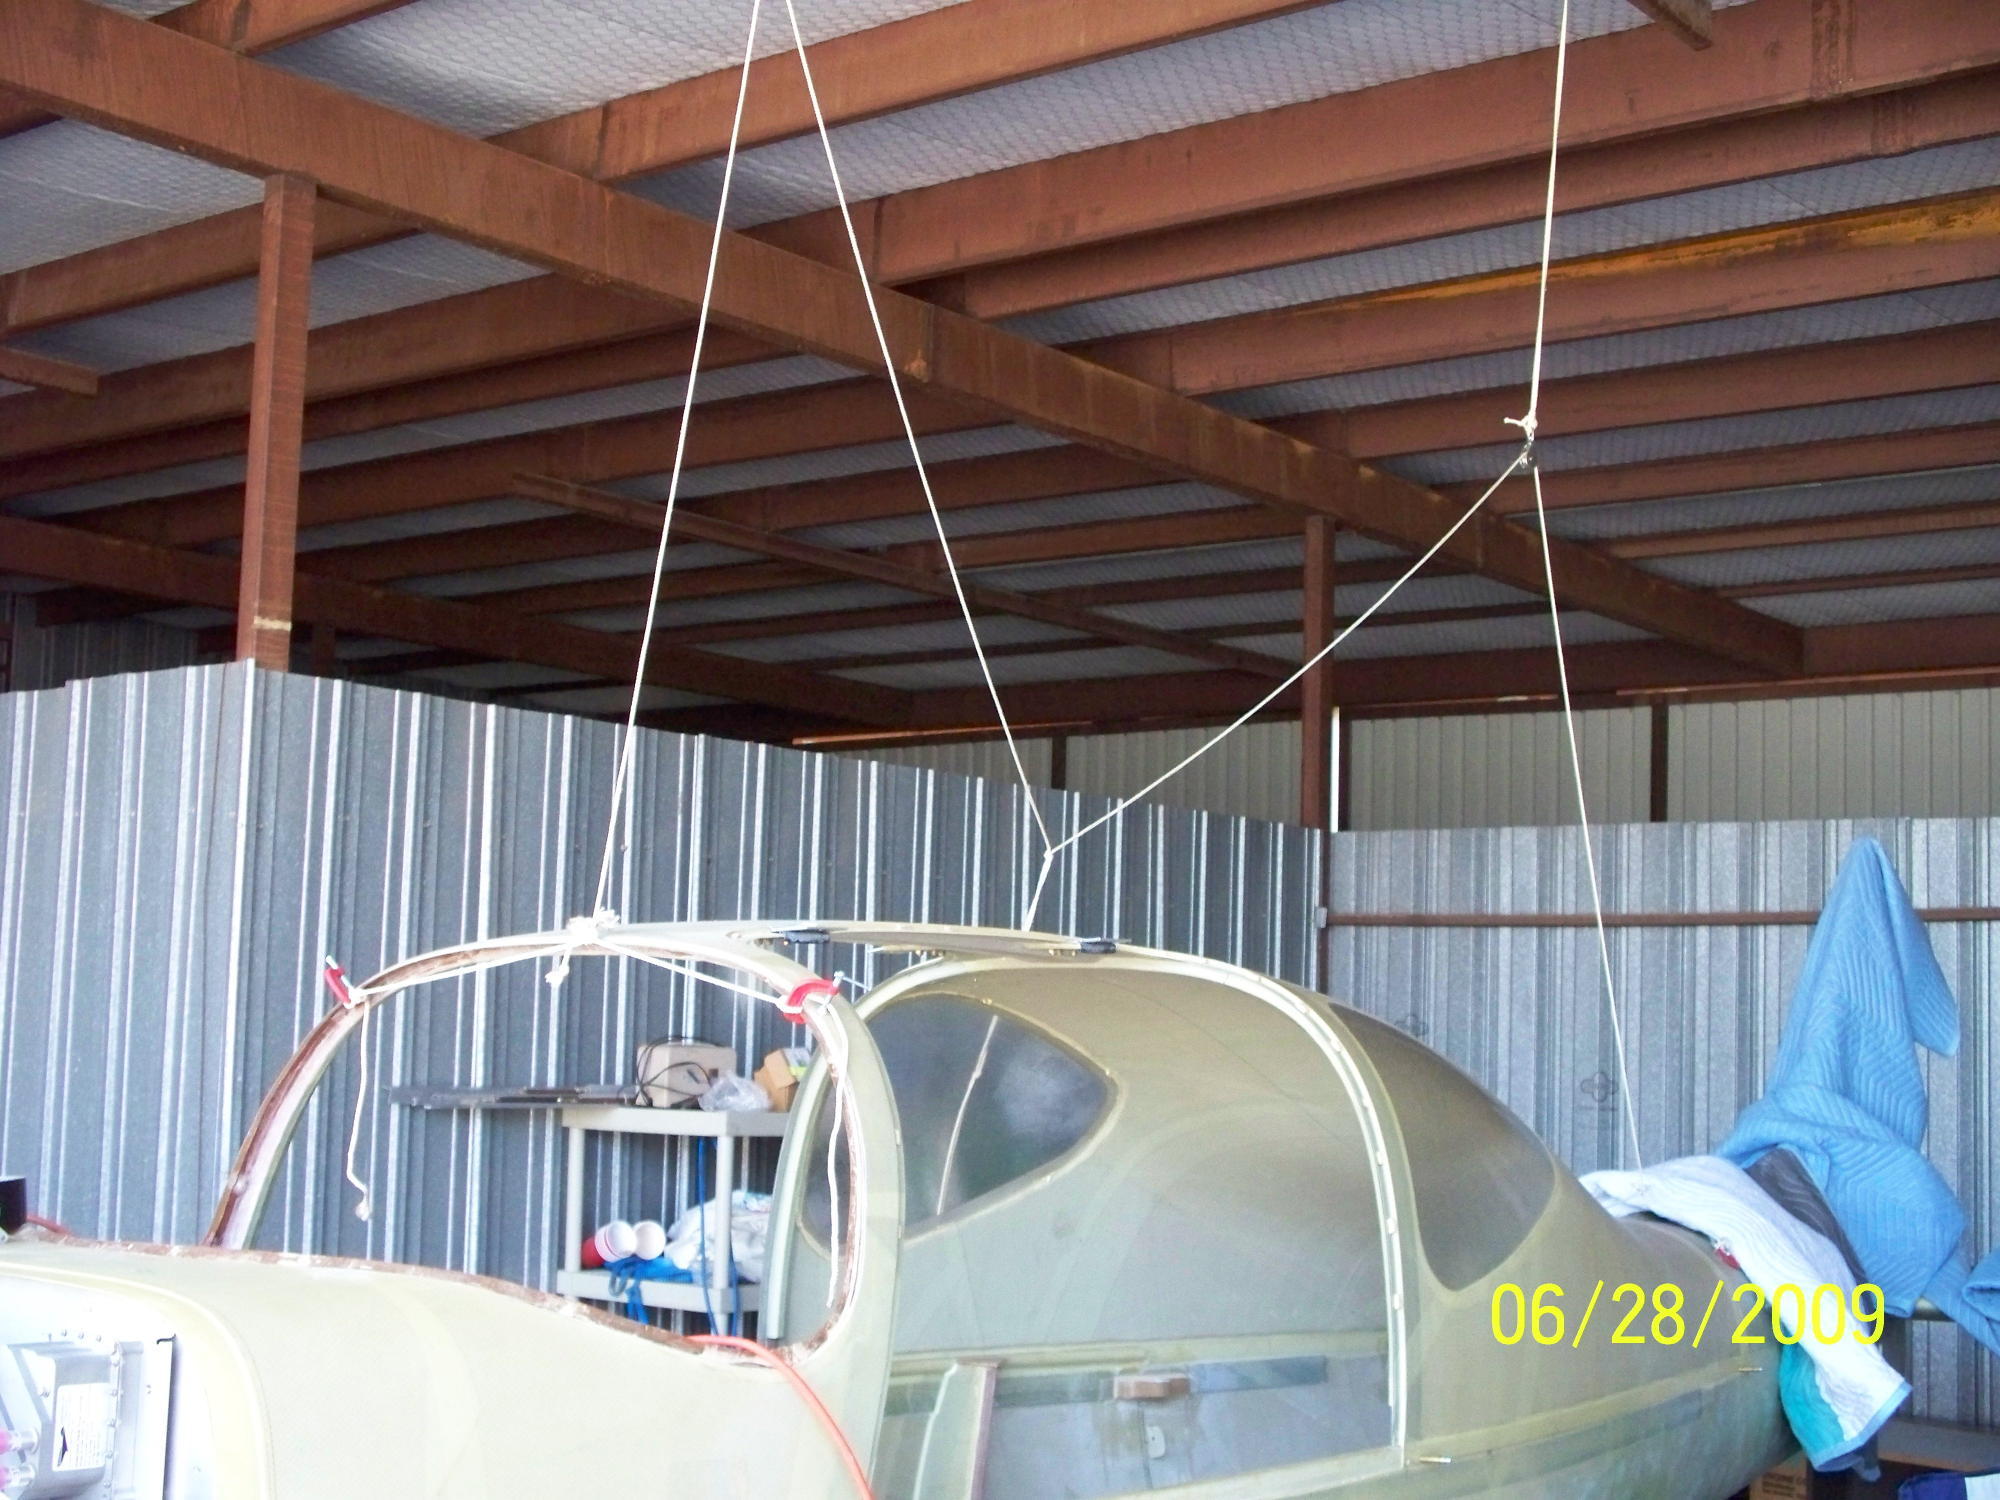 |
After nearlying destroying the top while trying to remove and reinstall the top by myself, I decided to rig something to help with the process. A couple of pullies, rope, and some small "C" clamps and just a little muscle shoud do the trick. |
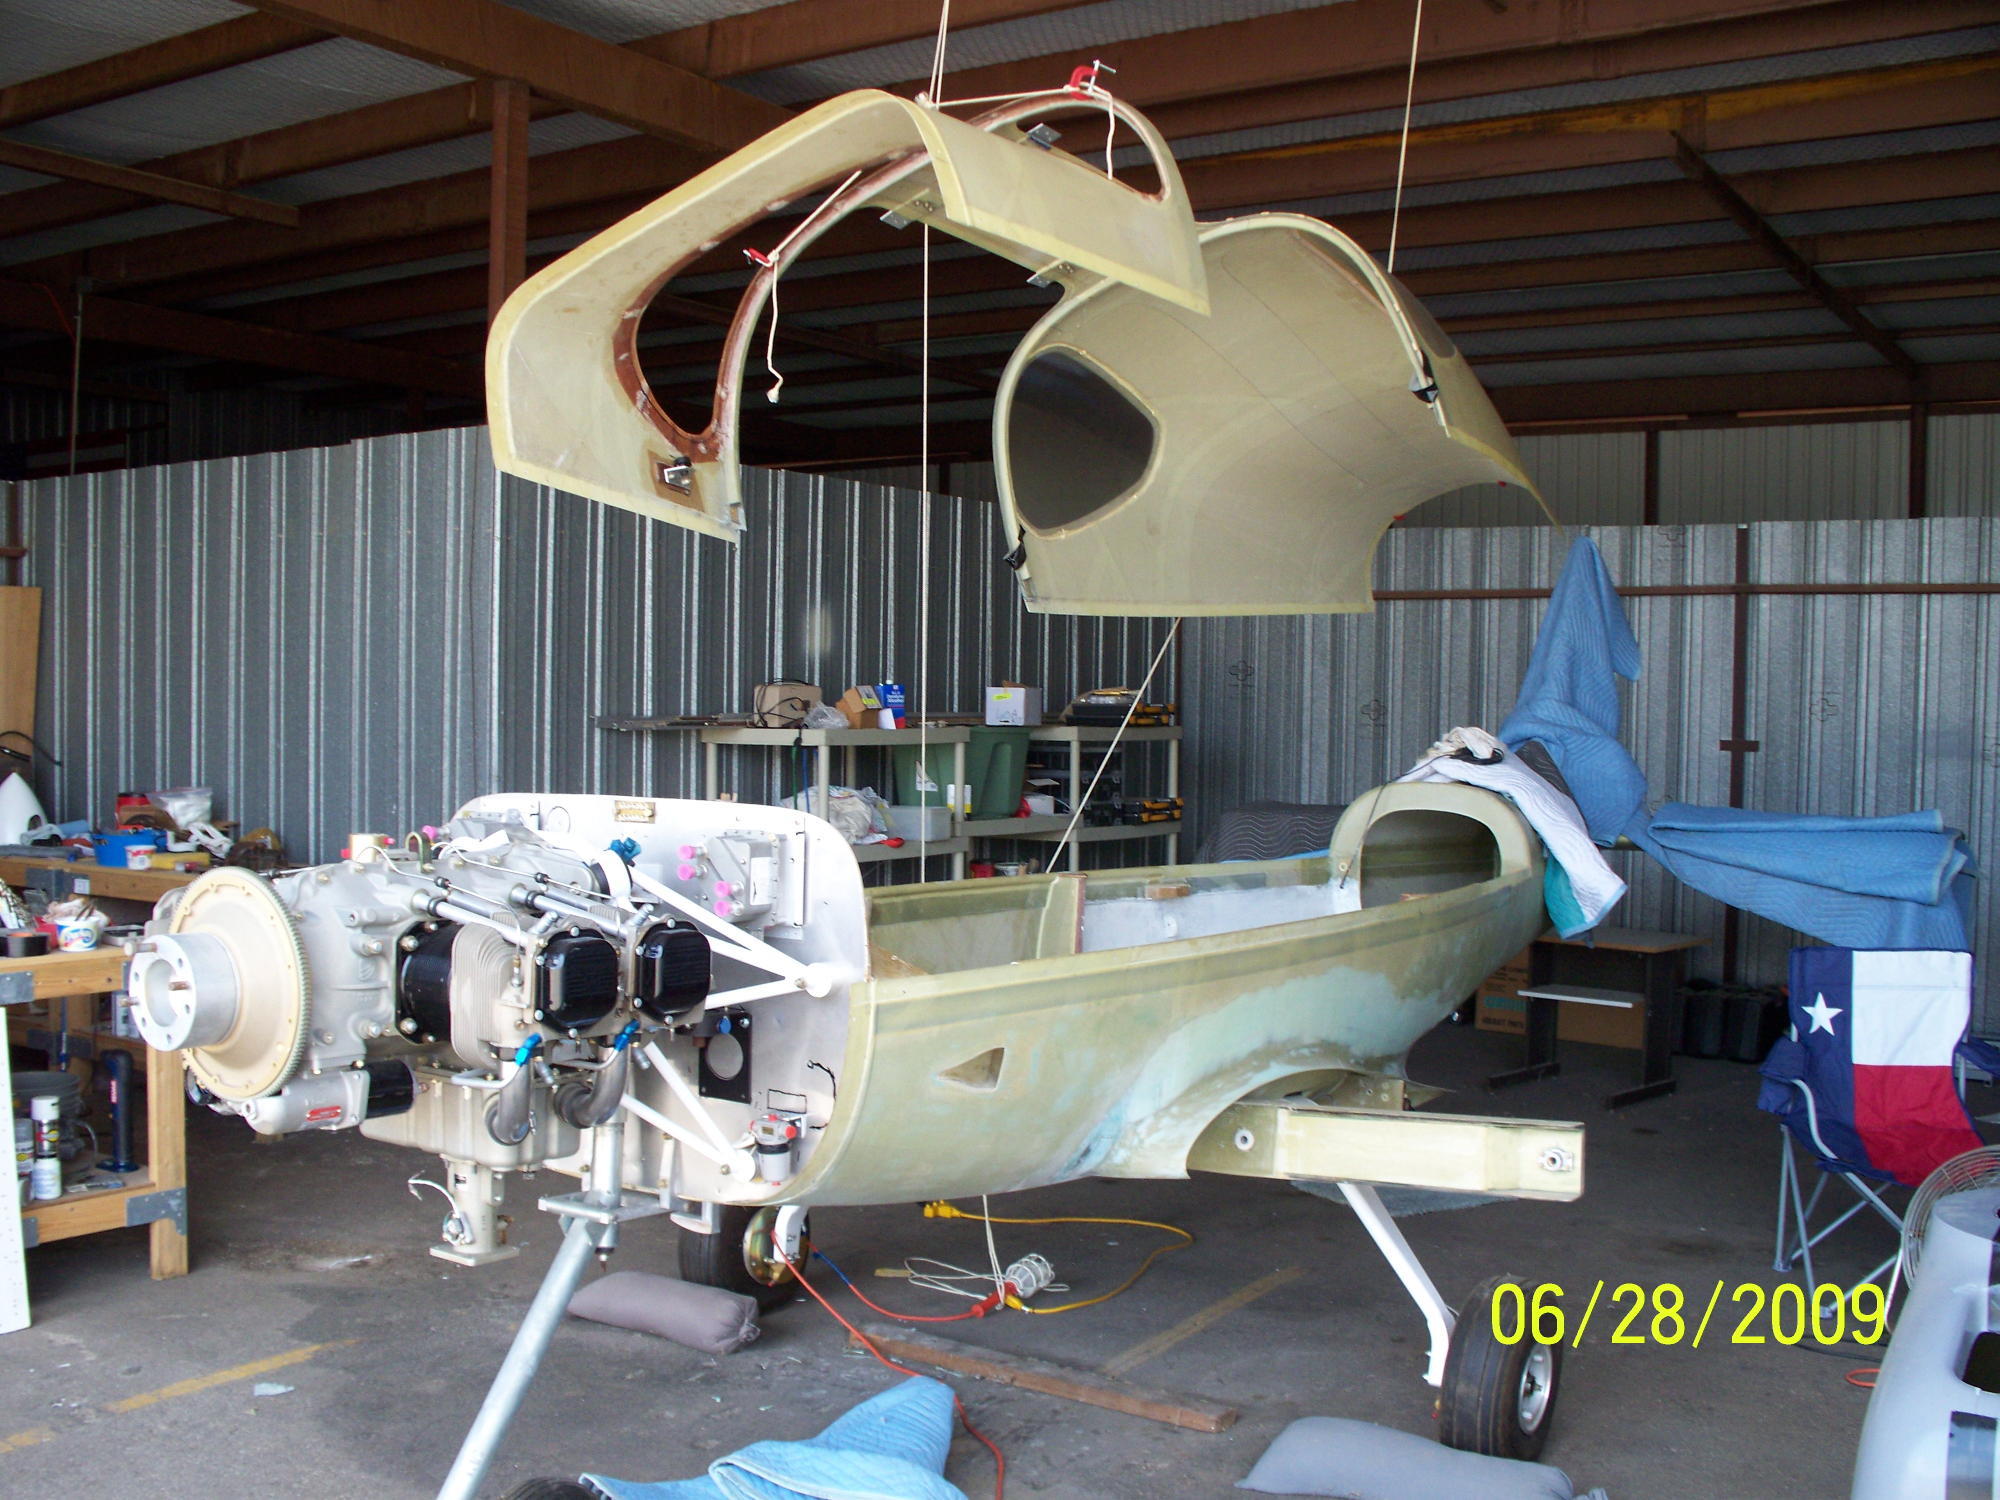 |
So why is this in the "FINISH" section? The simple
answer is that some of the interior finish work will be best perform
BEFORE you mount that fuselage top permanently. Having an easy
way to get the top up and out of the way is well worth the effort.
|
 |
Before you mount that top it would be to your advantage
and / or the advantage of your upholstery expert to start on the
interior finish preparation.
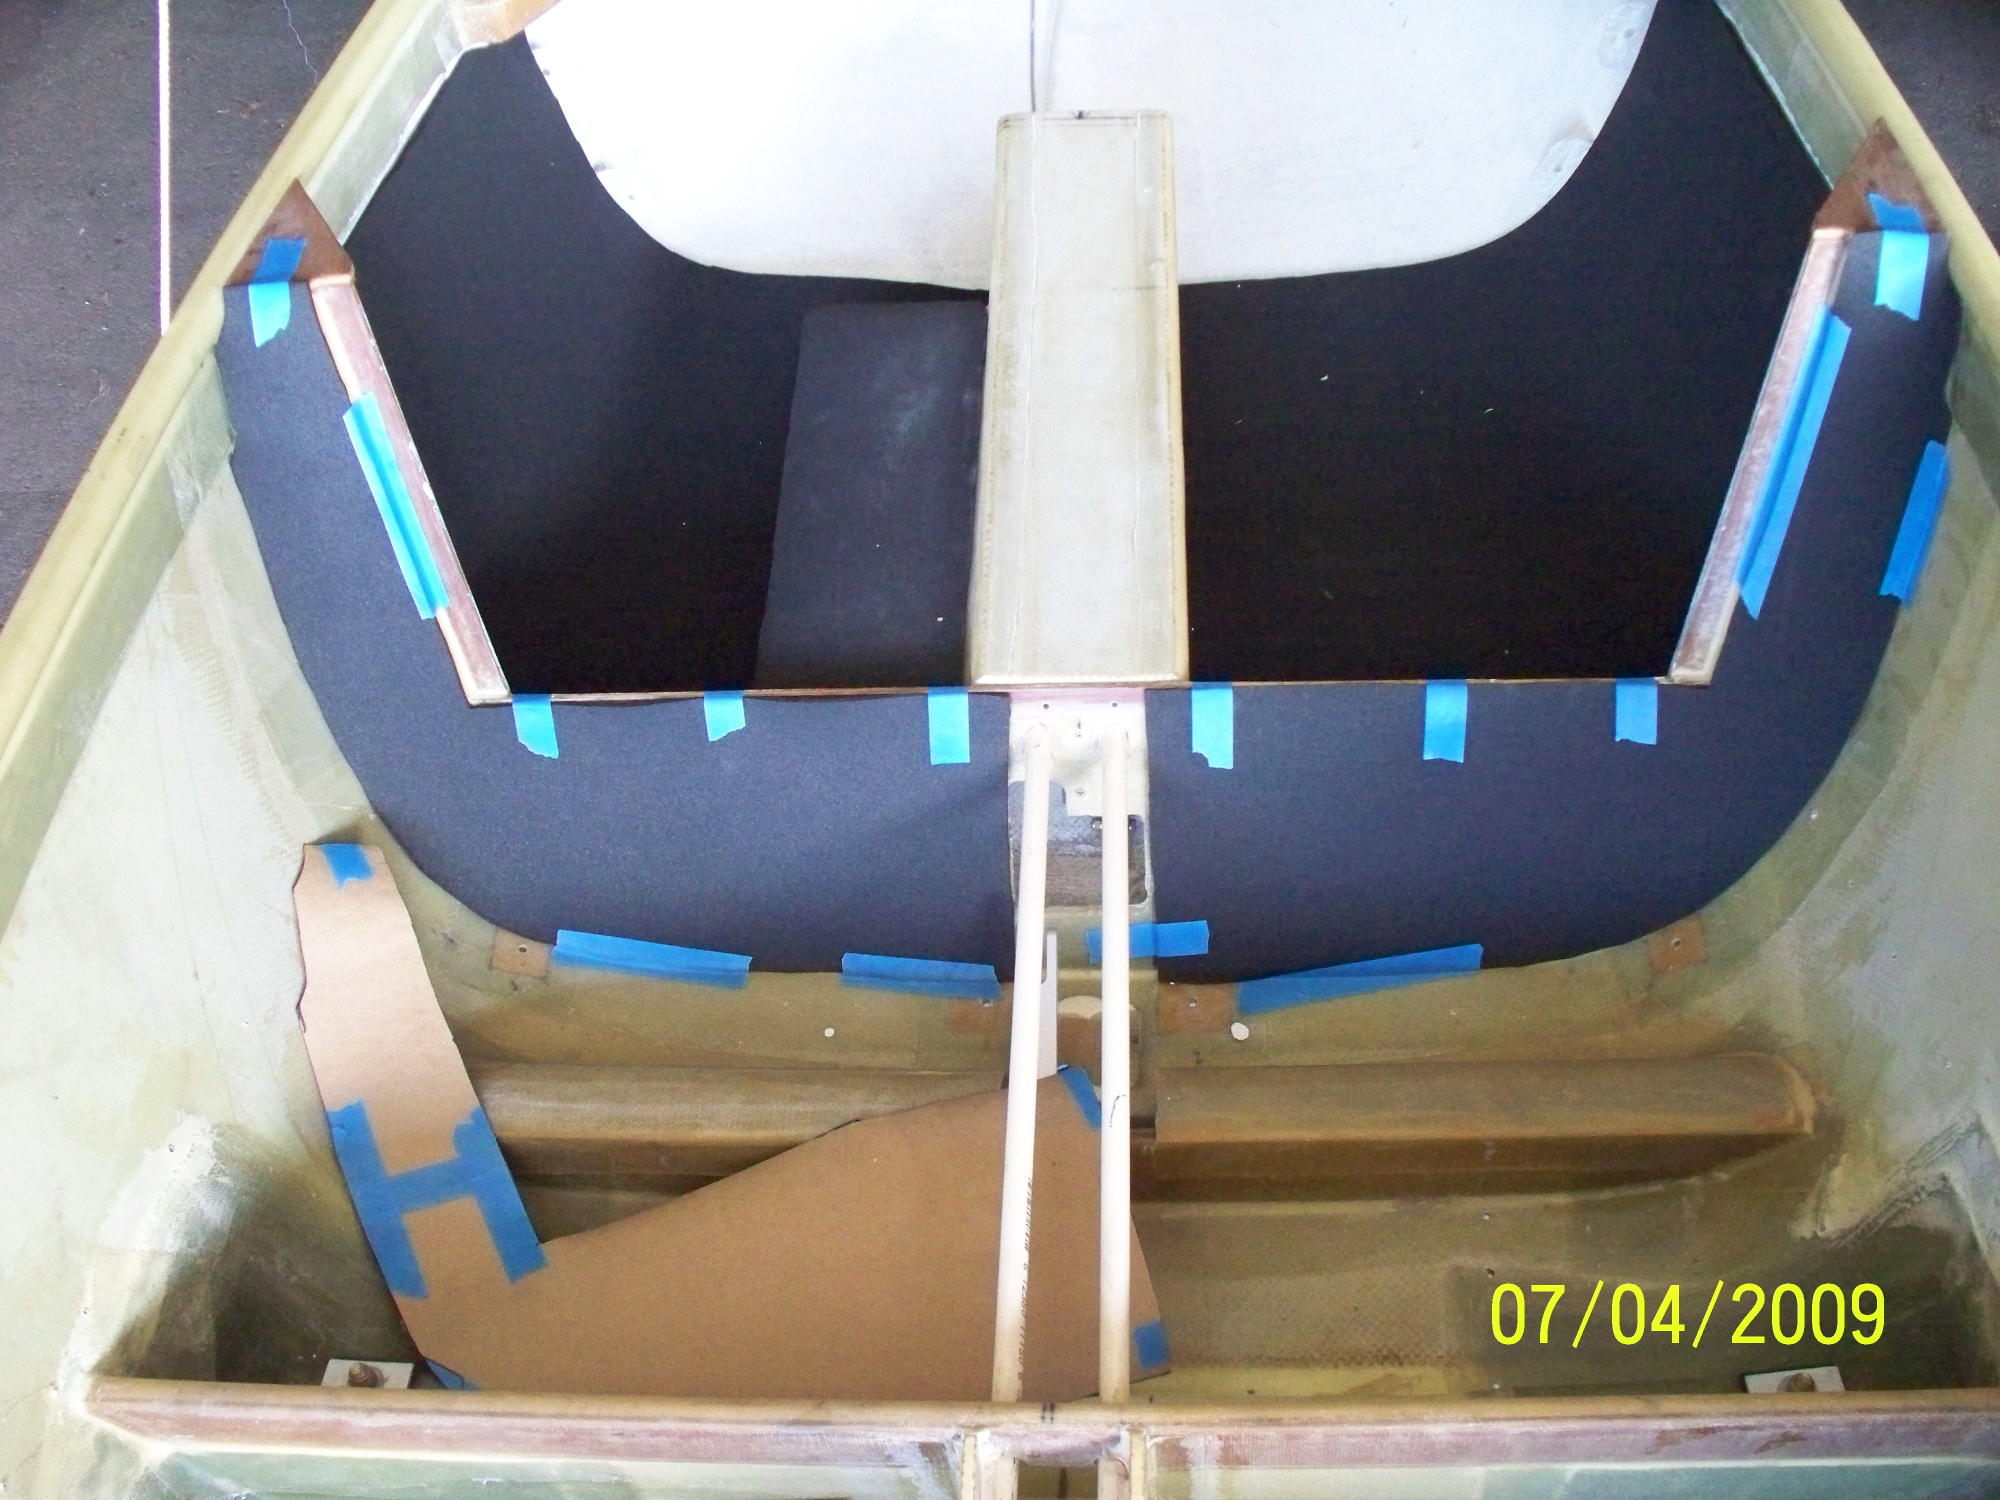
I will be using a combination of carpent with a foam underliner and held in place with Velcro and upholstry fabric. This shot shows the underlayer foam placed into the baggage compartment. and placed on the inside of the backseat. Currently it is just held in place with masking tape. |
 |
The process starts with making a paper template and
covering all areas to be upholstered or carpeted. The paper
template is cut along the lines desired for the individual pieces.
The paper template is then used to cut the foam underlayment and
templates.
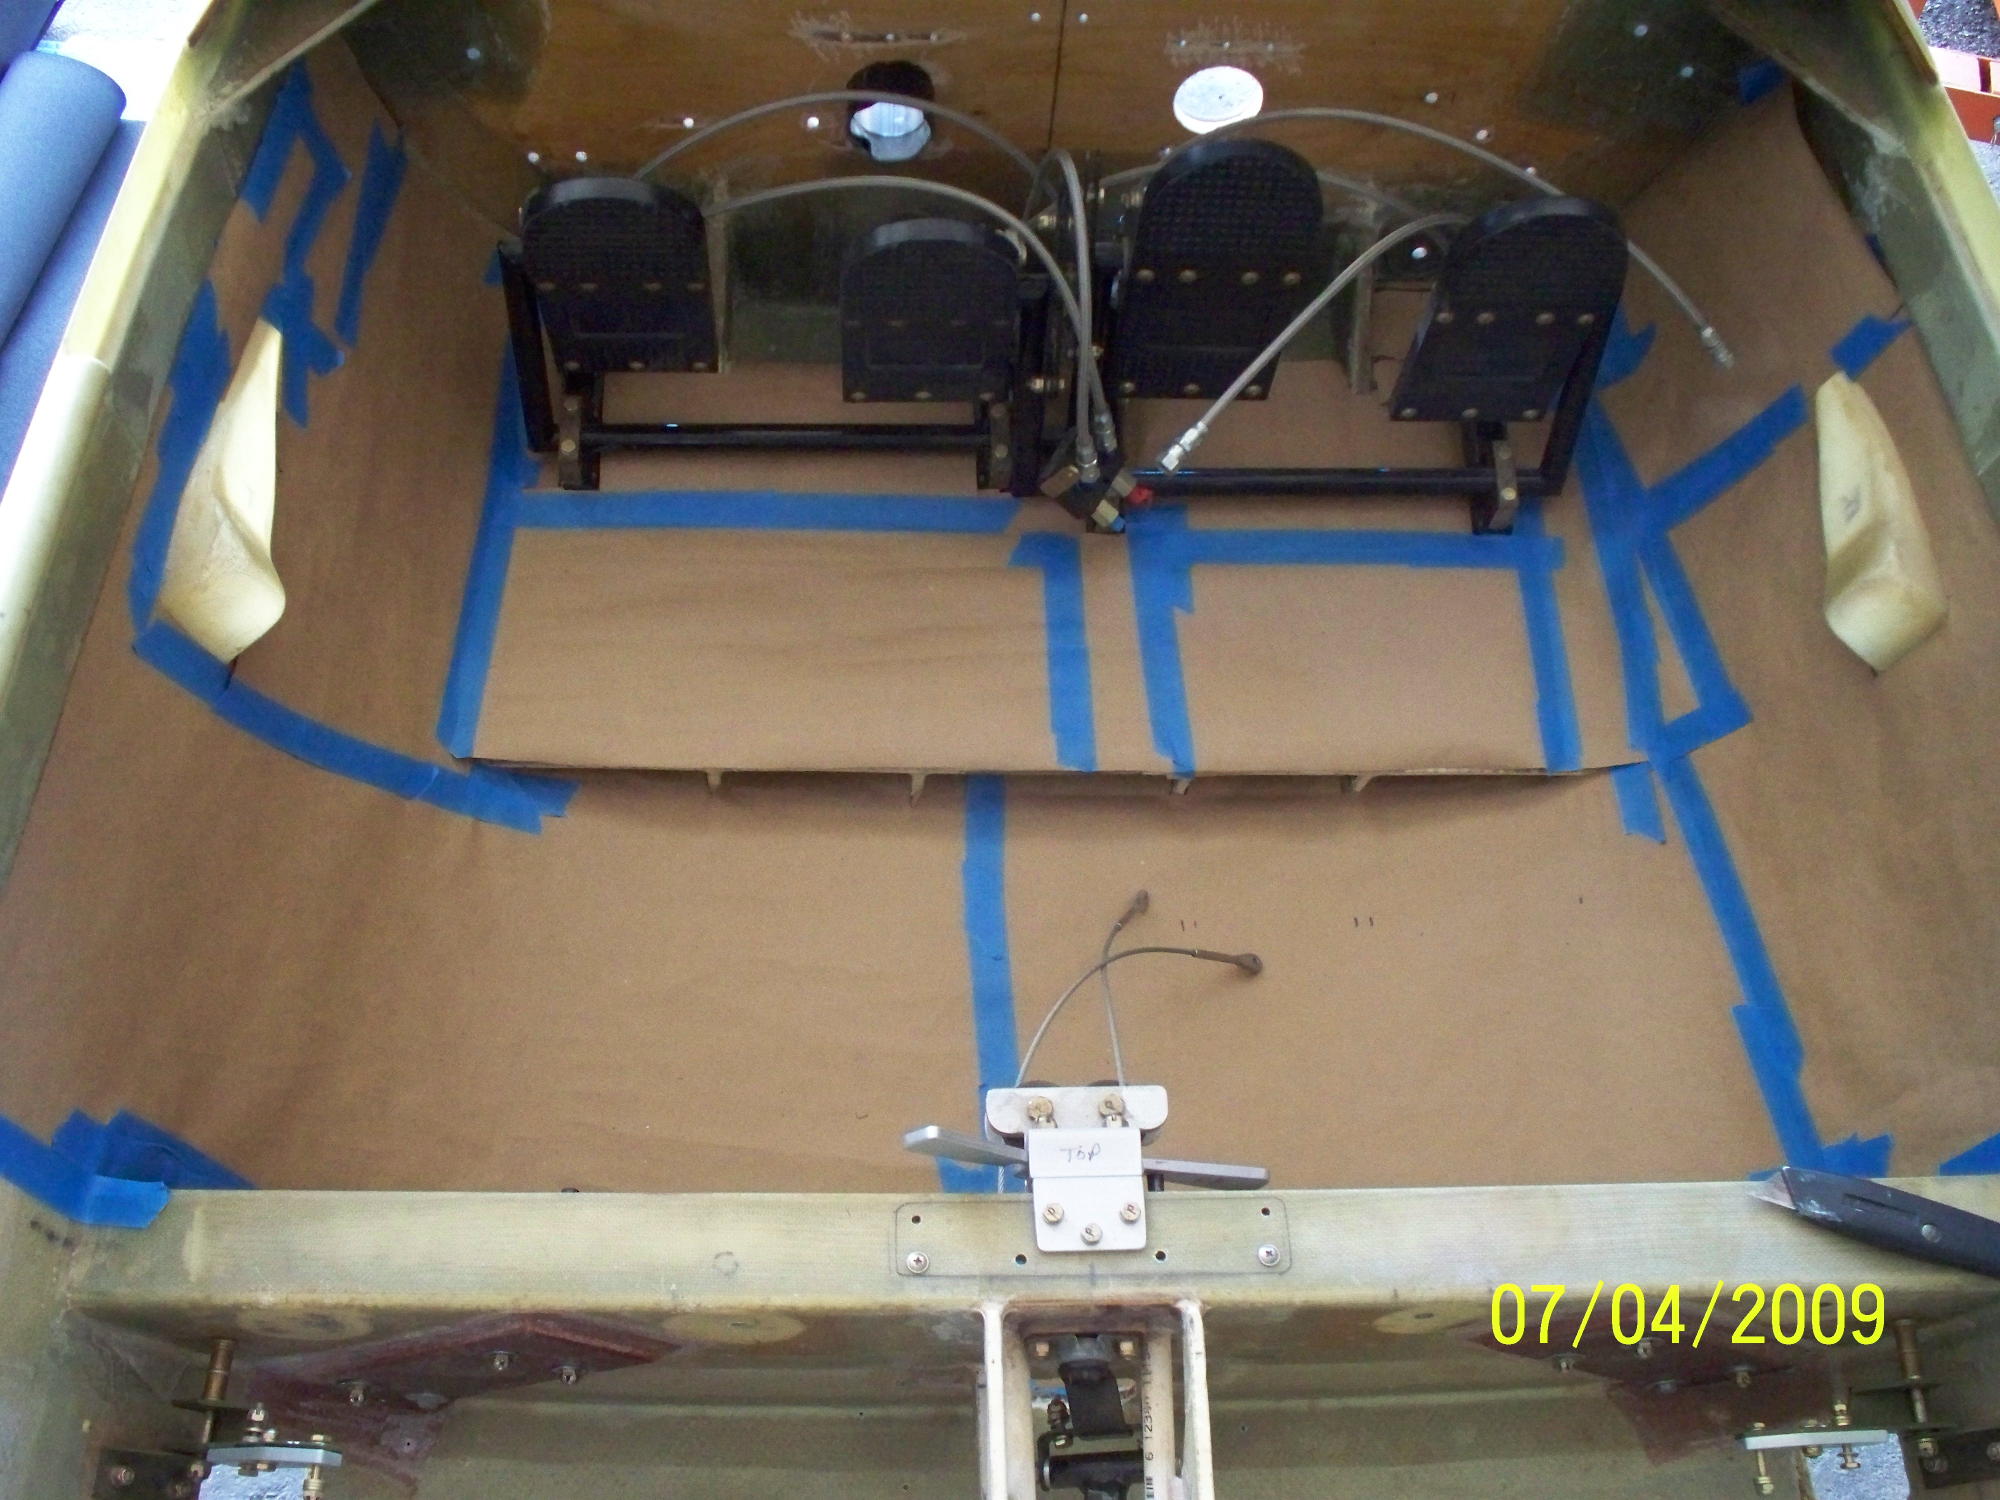
The front floorboard will be cut into three sections. One center section around the rudder pedals and two side sections. |
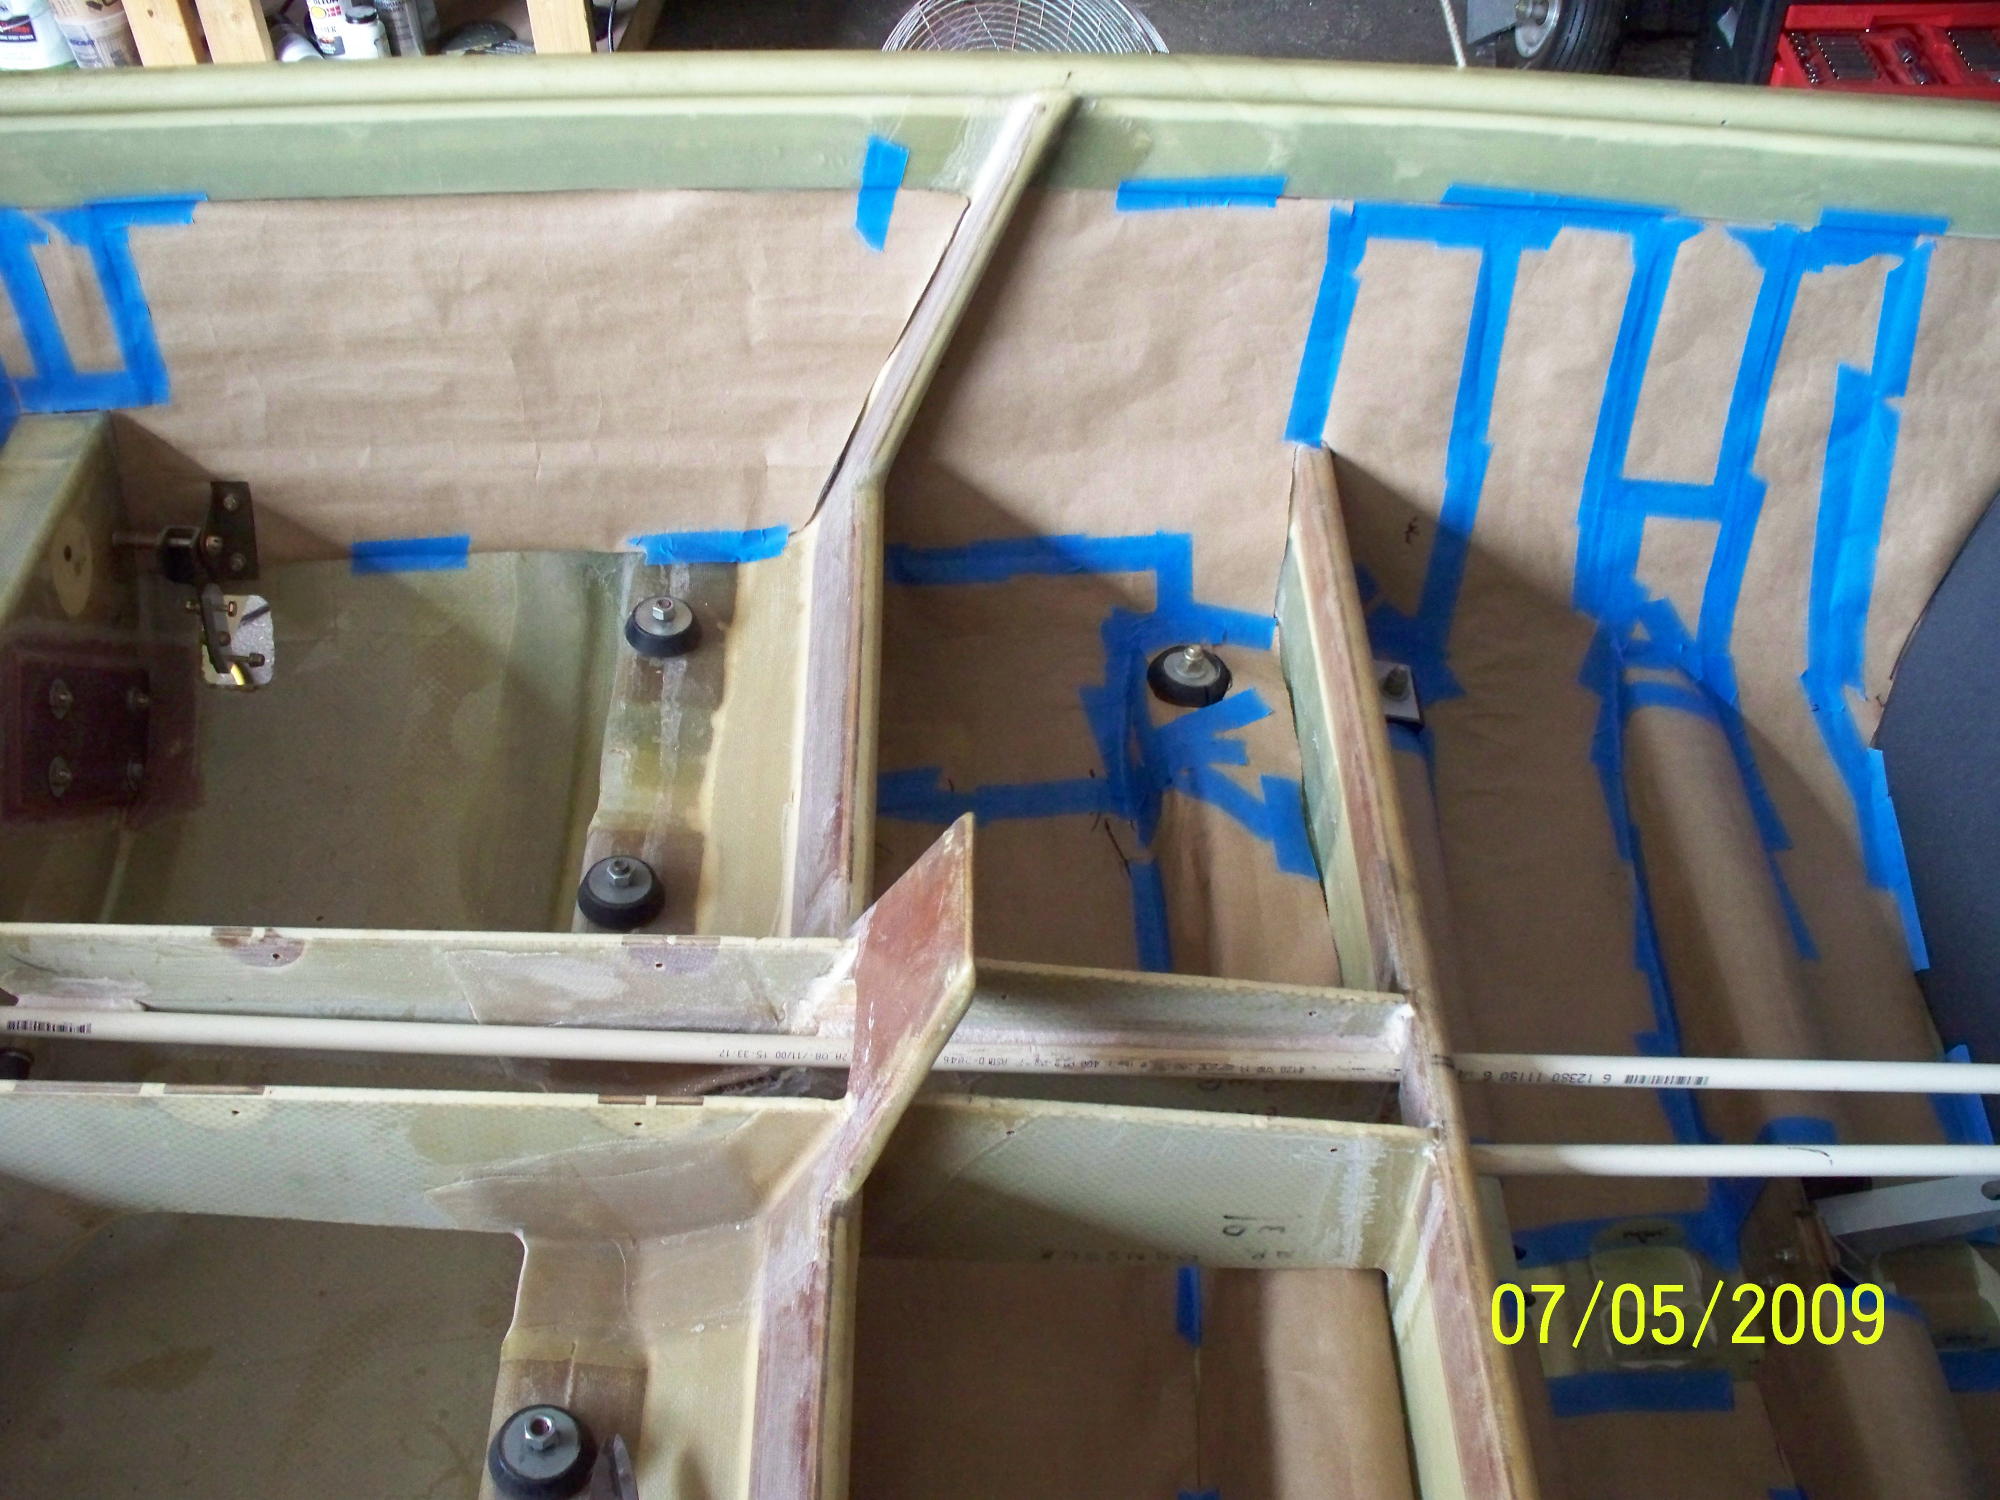 |
The front side sections will extend backward along the
side of the front seats. My plan calls for extending the carpet
up the sides and ending just under the longeron. If you wanted
the sides to be upholstered, the cutting patterns would be cut along
different lines.
As you can see from the number of pieces and all the masking tape the paper fitting process is something like putting together a jigsaw puzzle. It is very time consuming even with full access to the interior from the sides. Just imagine trying to do this with the top on and crawling around inside. I ran out of my template paper so I haven't finished the lower fuselage but have already spent about eight hours on this phase. Once the templates are done though, the process moves to a table and goes considerably faster. |
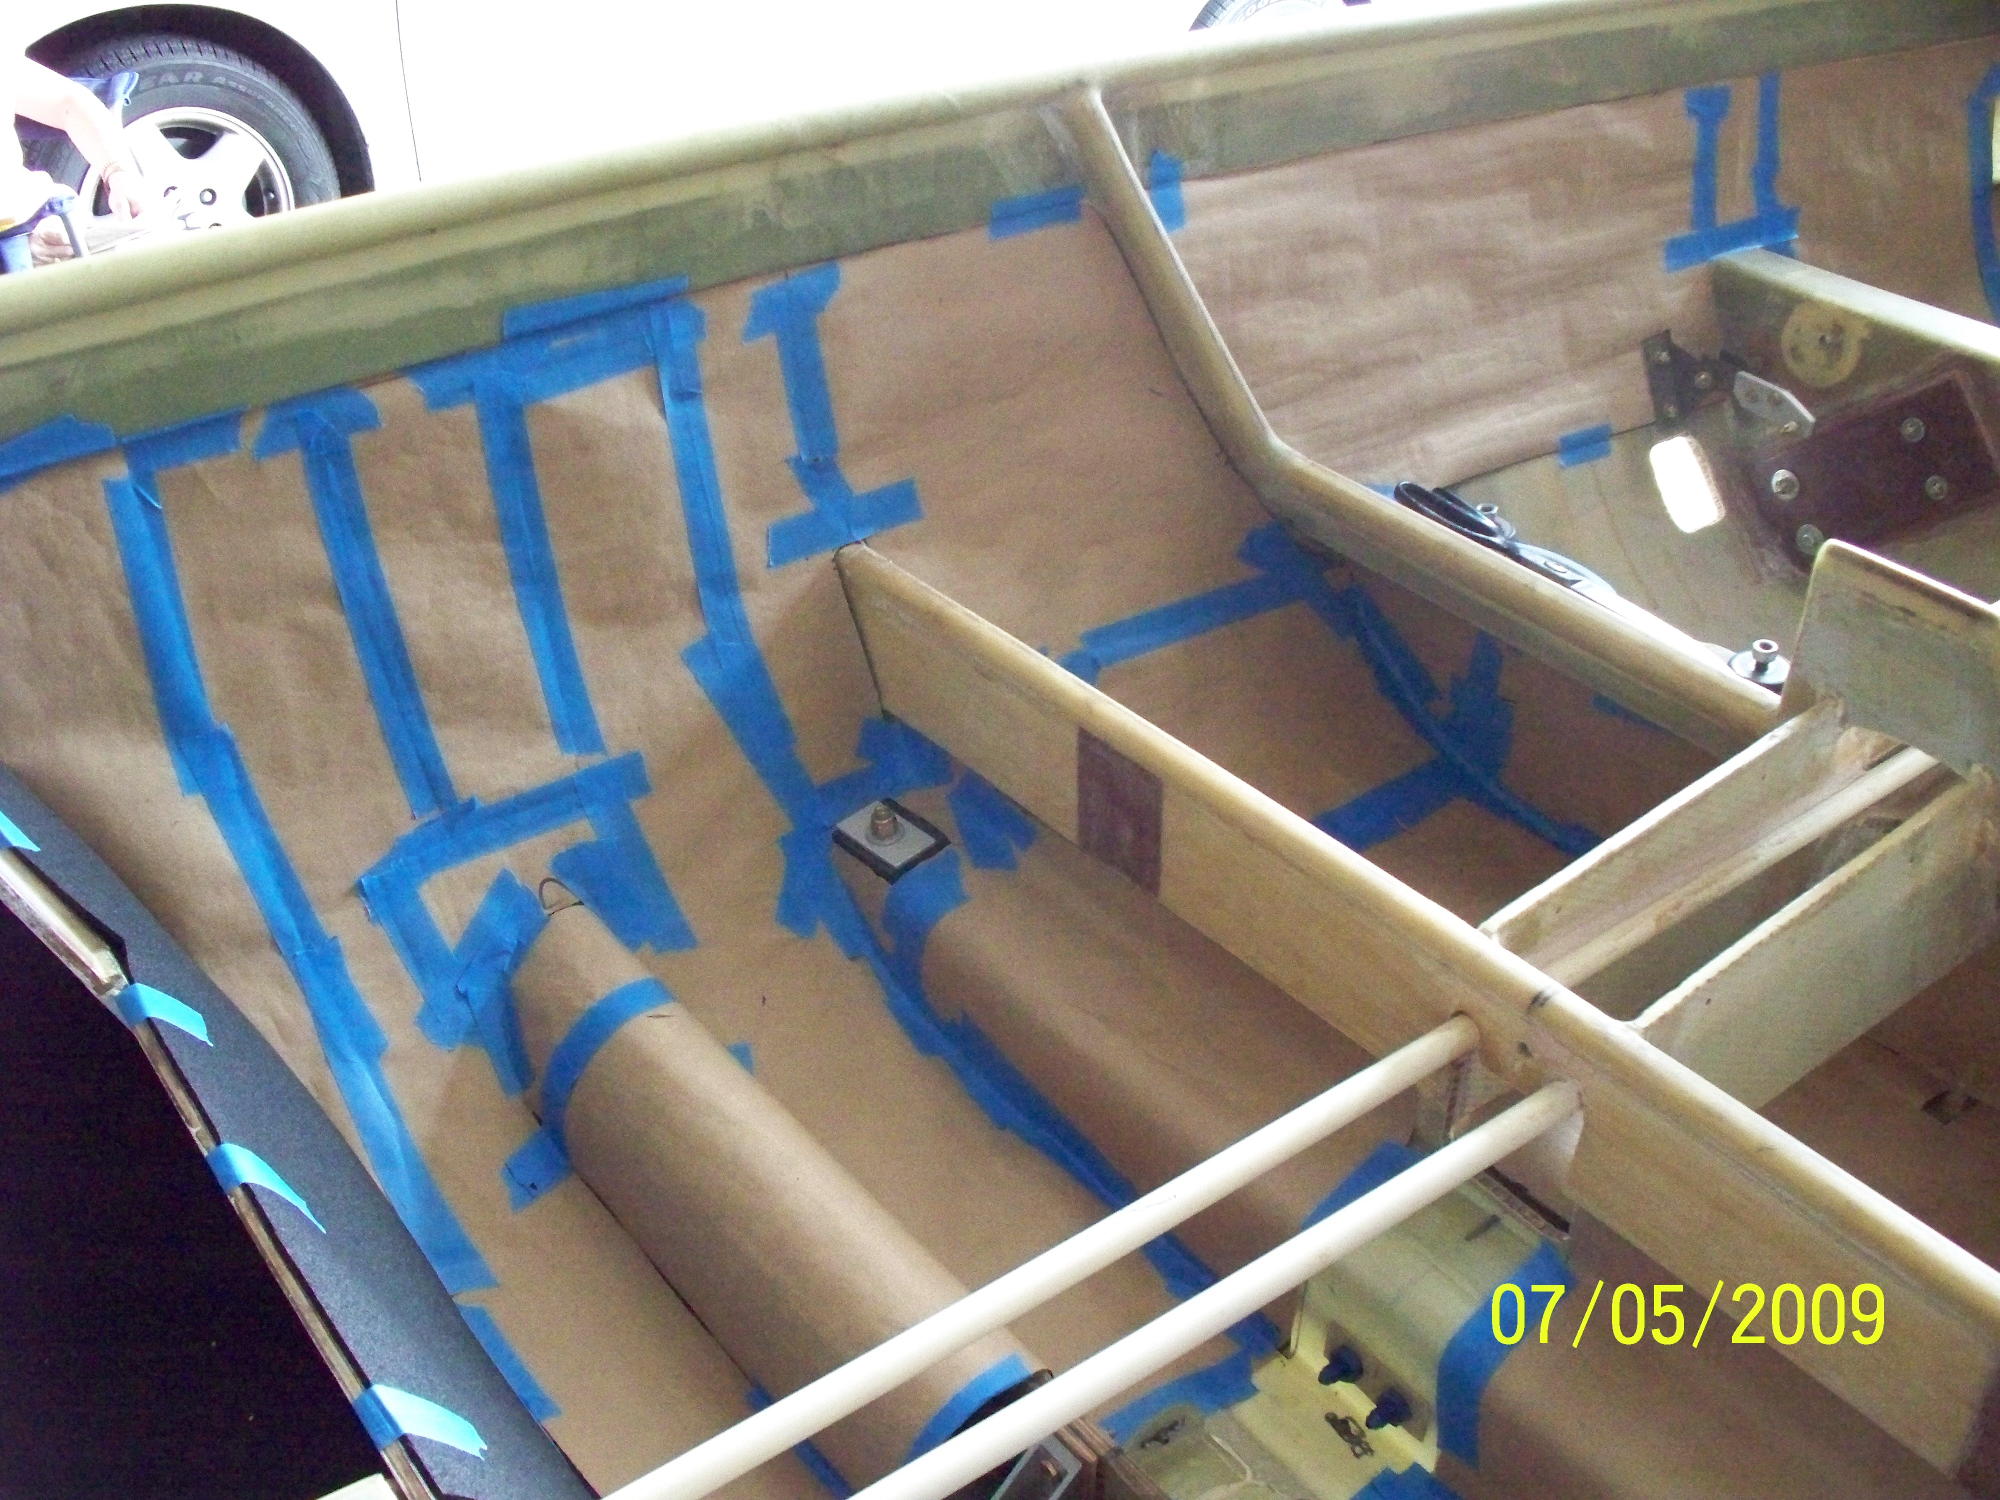 |
The back floorboard and back seat areas will be a little
more difficult and will consist of more pieces. The exact number
will be determined as I pull them out. Cut the foam using the
templates and cut to size of the template. FIT THE FOAM into the
interior and trim as need to get a full coverage. The purpose of
this point is to make a single fitted template for marking and cutting
the carpet. The carpet once cut will be edge trimmed and backed
with Velcro.
The areas to be covered will then be edged and crossed with Velcro for holding the carpet or upholstry in place. The foam once used for a cutting template will be trimmed and glued inside of the Velcro strips. The area under thre rear seat and the rear floorboard will take several pieces on each section due to the odd sections but this is where the templates will really pay for the effort. |