
N247BR
Wing Interior Details
 |
Installation of the fuel filler inlet along with the vent for the fuel tanks. This was a major disappointment for me since I had the whole thing installed and then realized that I had not squared the filler so that the wings on the cap would be square to the wing. It won't hurt anything since the cap is flush but it will probably bother the heck out of me. |
 |
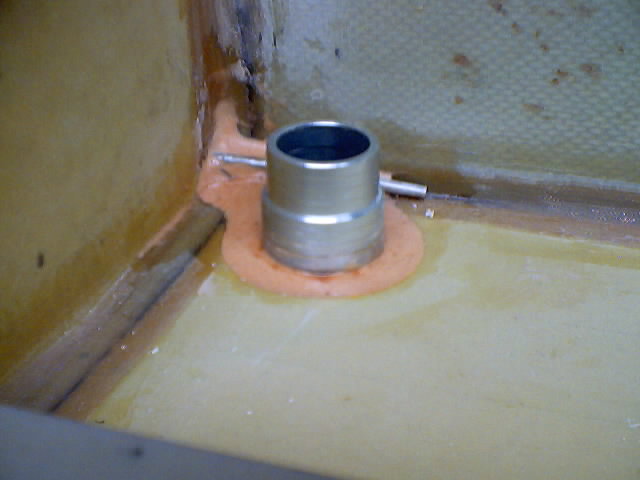
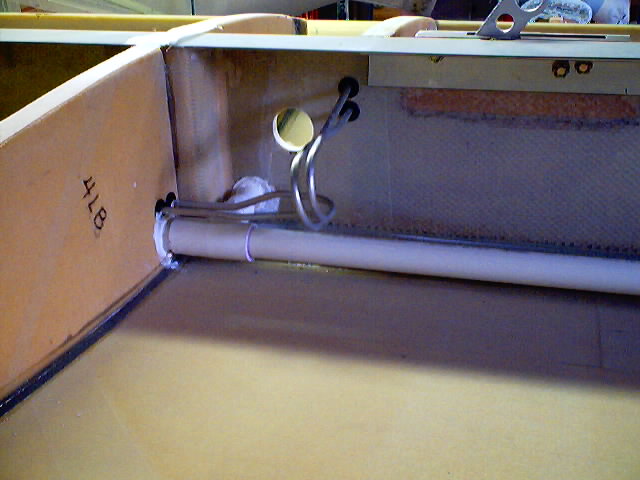
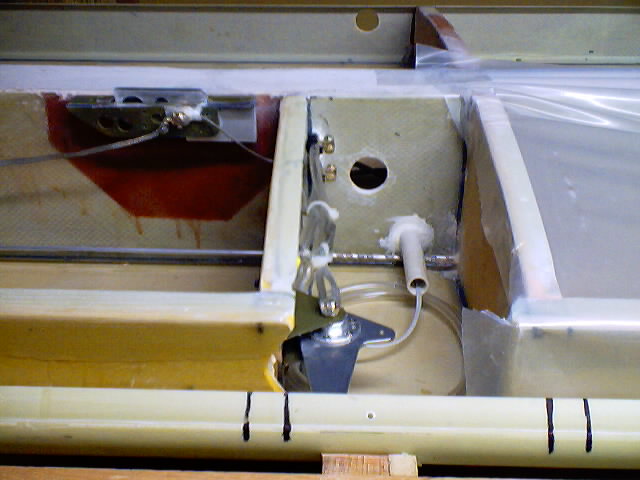
This shows the slosh valve installed along with the vent line between the first and second fuel bay. The large tube running between the bays is the fuel sensor. |
 |
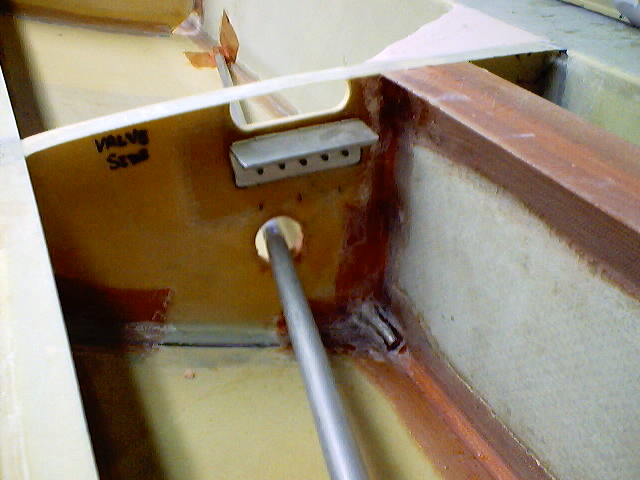
This shows the fuel sensor connection. The sensor
was supposed to have a bendable section but when I tried to bend it, it
would not make the bend without a problem. I tried a pipe bender
and when that didn't work right I used the slip over spring. The
1/2 " tube was just too large to make the right "S" bend needed for
proper installation. |
 |
I tried to get it to bend but as you would expect, it cracked and bent over. I decided that I would just cut the tube and install insulated wiring. I plugged the lower end with epoxy-flox to keep the internal line from contacting the tube or connector. I then installed in place to give the best measurement position. The final thing was to put a small hole in the lowest portion of the tube to allow the fuel to flow into and out of the tube. I will not know if it's going to work until I fill the tanks. I don't see any reason why is shouldn't work as planned. |
 |
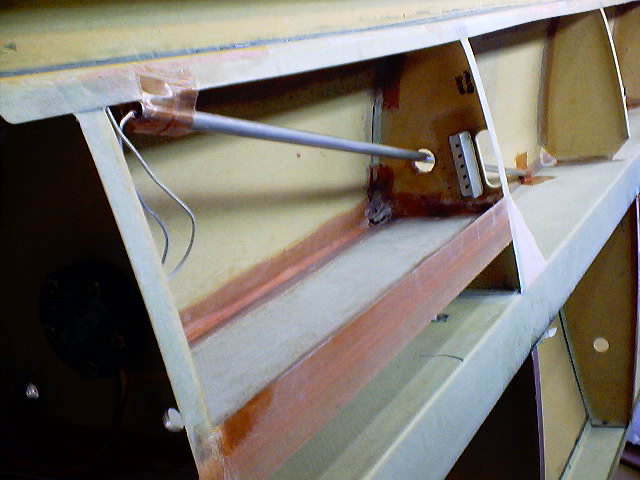
The Pitot Tubes lines are curved to allow for expansion. This shows the PVC tube for wiring to the pitot heater and to the wing tips. The pitot lines and the PVC tube are all installed with silicone sealant to allow the lines to flex within the wing while also allowing the wing to flex withoug pulling them loose. It also prevents any rubbing of and abrasion of the surfaces. |
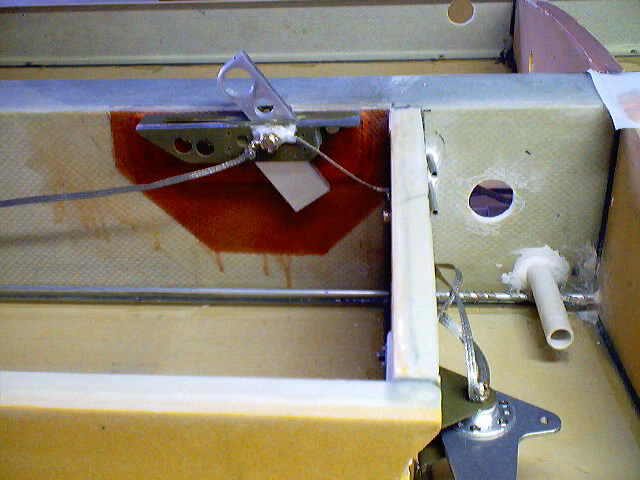 |
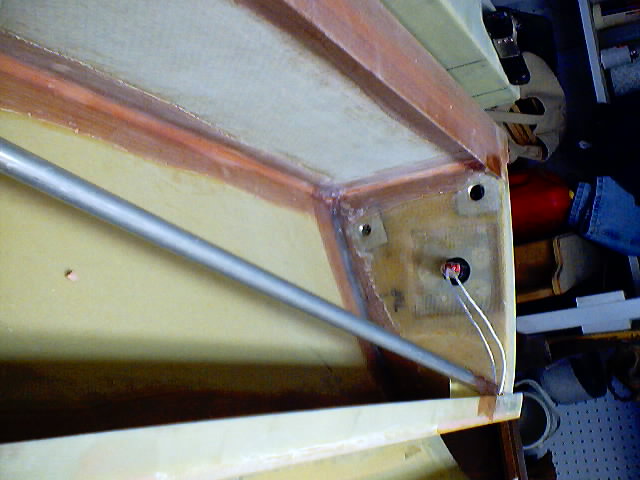
The retractable wing tiedown installed. The flat wiring is the ground bonding line which connects to the fuel filler, the fuel vent line, the aileron idler arm, and on to the tiedown. The ground line will extend to the wing tip for connecting to the strobe/position light and then to the aileron and flap hinges before being extended to connect to the common ground. |
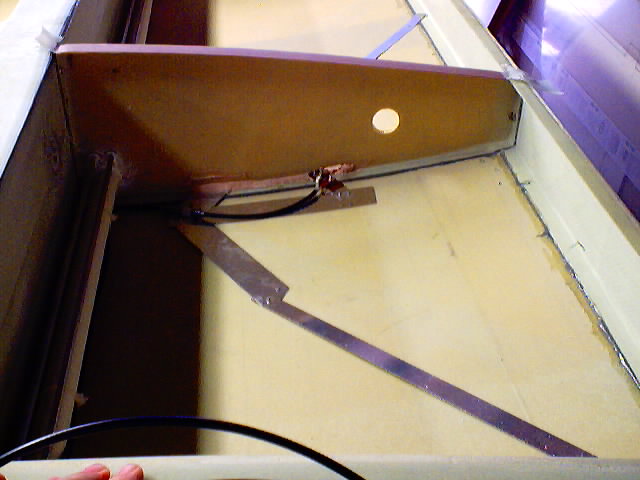 |
This shows the navigation antenna installed in the first of the rear wing openings. The antenna is anchored to the top skin using about a half-dozen pop rivets. |
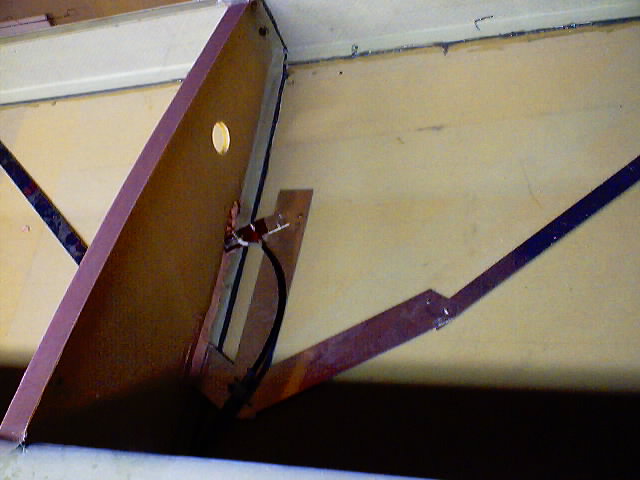 |
The connections will be reachable from the inspection panel used for installation of the spar bolts. |
 |
It's a bit difficult to see but this shows the Pitot lead tubes and wiring run for the Pitot heater. The Pitot lines are all aluminum except for the connection between the Pitot lines and the external Pitot tube. |
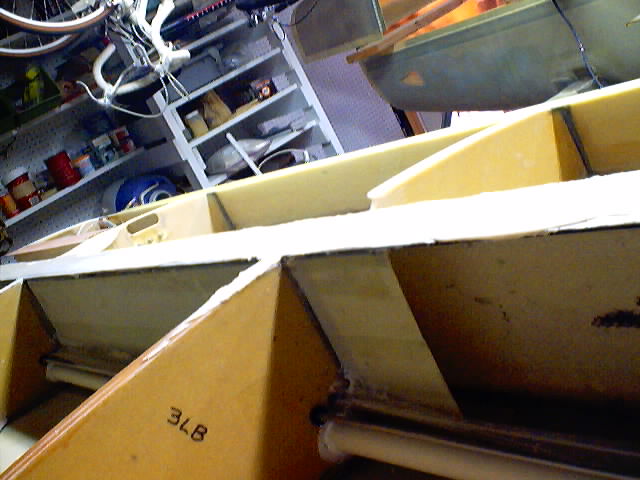 |
I did a two step close inorder to make sure that the area over the spar would get enough adheasive / flox to properly seal. Sure glad I did because it took far more than I thought. I also added a two ply bid to the front lip because it was obvious that it was very thin and had a gap at the front. |
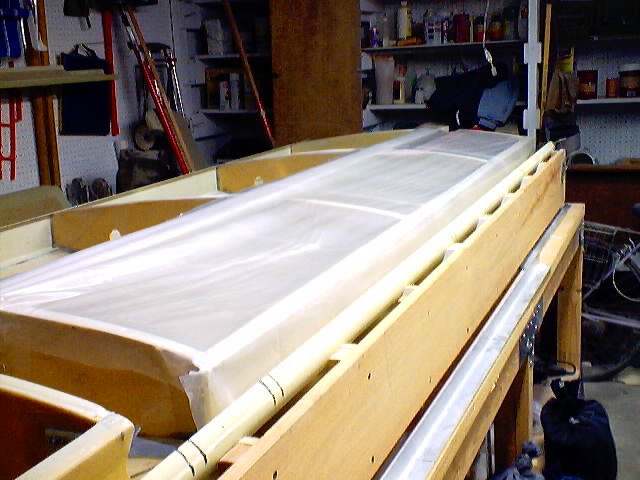 |
After the pre-close I sanded and leveled the main spar and sanded all edges to prepare for final close. After sanding the fuel bay I have covered with plastic to keep out the dust and any contaminates before doing seal coat. |