N247BR
Doors Preparation - Door Latch - part 2
| I have broken the door preparation into several sections to keep the individual pages smaller and give some logical sections. | |
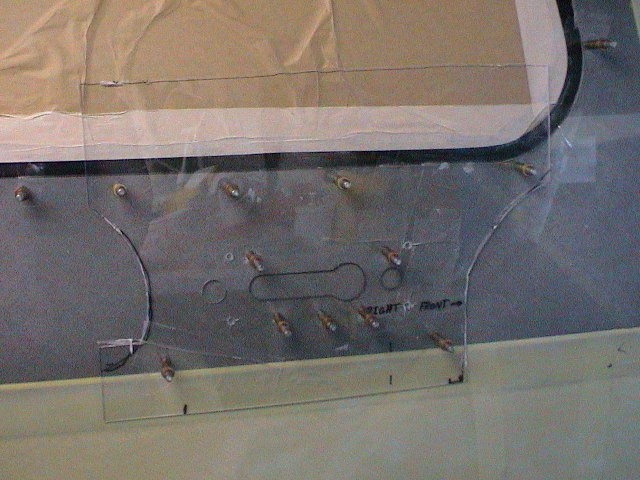 |
Now comes the part that makes you cringe. You have played with the plastic knowing that any mistakes are just practice. Now, you are about to cut a hole where a mistake will be permanent. Oh well, what the heck, go for it and get out that dremel and make holes. The plastic overlay was used to position the latch assembly and now becomes the template for cutting the door opening. |
 |
Ok, we have a couple of big holes in the outside expensive carbon skin. Does the Latch Fit? |
 |
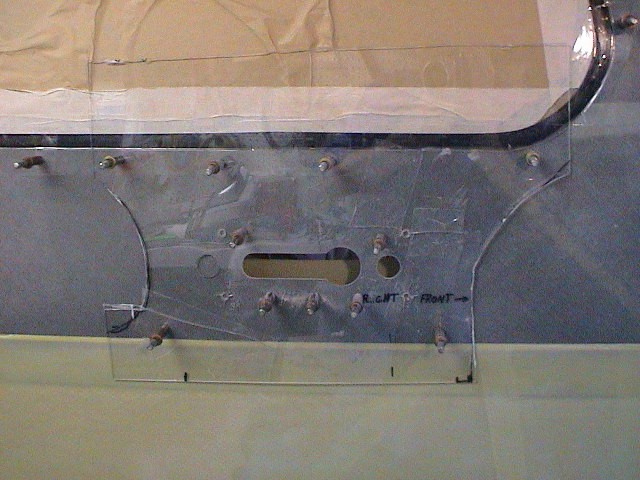
Carefull cutting, sanding and trial fitting eventually have the latch in position. |
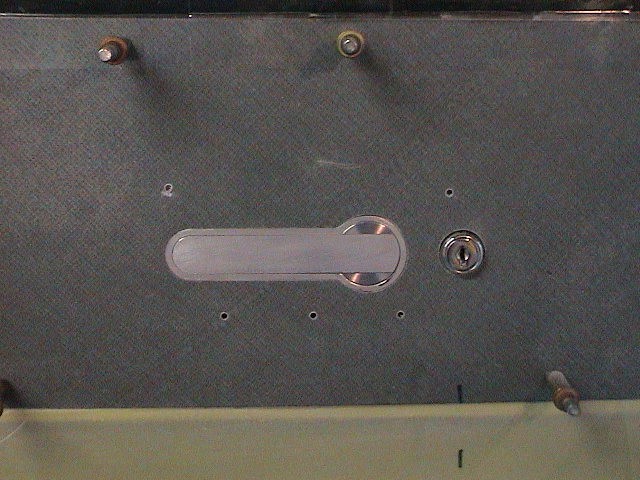 |
Now, you can judge the results for yourself. The fit is rather nice if I do say so myself. My original thought was that I could easily fill any gaps around the latch with a bit of silicone and it would help seal the latch in place. The fit is so tight that I don't think I will need any silicone. |
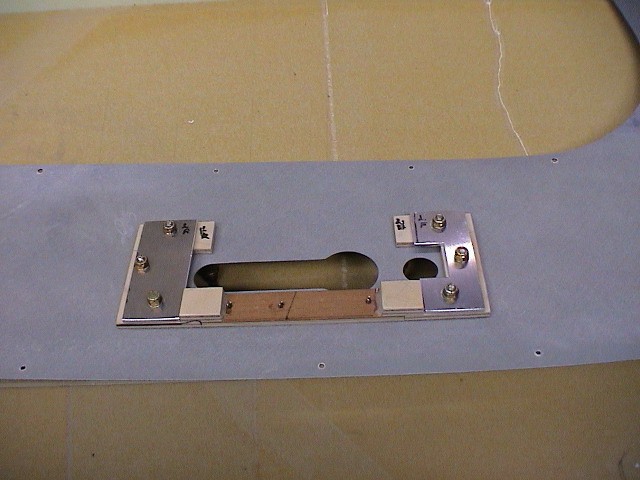 |
Next step was to bond the mounting bracket to the outside skin. This was no problem since the cleco holes were already in place and I only had to mix the adhesive and go for it. |
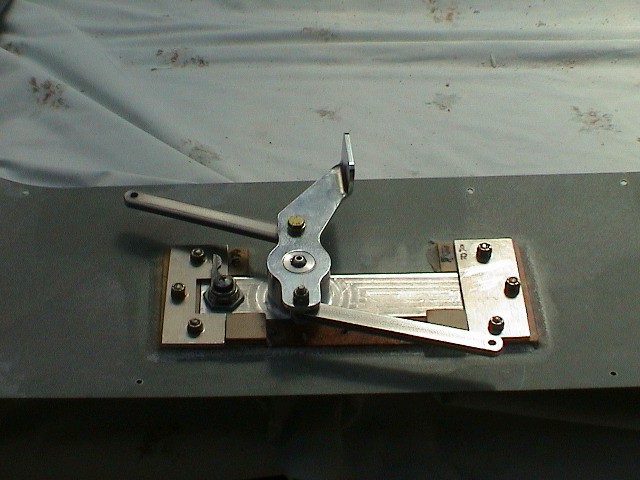 |
The mounting bracket is bonded to the skin. Time to check the entire fit of the latch. Make sure the mounting brackets hold the latch firmly against the skin. This is the last time it will be easy to make adjustments. Once the door is closed out it gets very difficult to get to the latch and you don't want to do it more than once. |
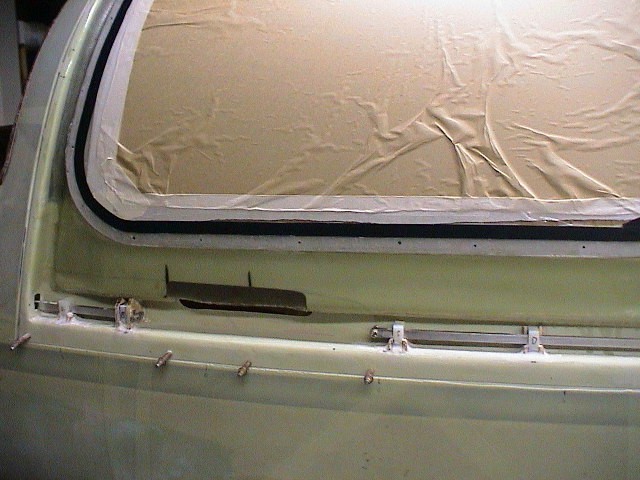 |
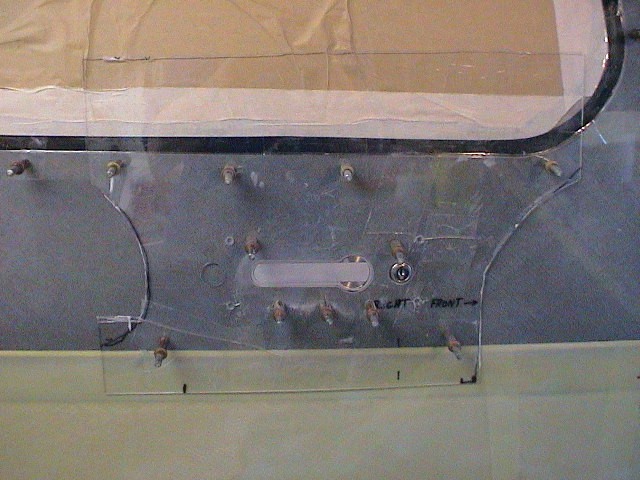
The latch bar brackets have been bonded in place and cleaned up. The bar can be seen but notice the ugly opening at the point where the bar goes through the door skin. This area was filled with an epoxy/micro/flox paste at both front and back. |
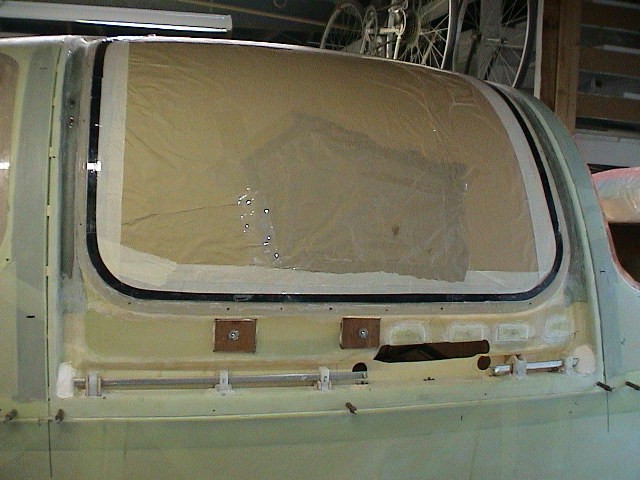 |
I wrapped the rod ends in wax paper and tape. I then positioned the bar so the wax paper was in the opening and filled in the epoxy/flox mixture around the bar and filling the corner. After setup, I removed the bar, wax paper and surprise...a perfect opening. It doesn't look all that great here but the opening is just barely larger than the latching bar. This shot also shows the inside view of the tabs used to mount the arm rest. |