Wing Close Out #2
|
|
 |
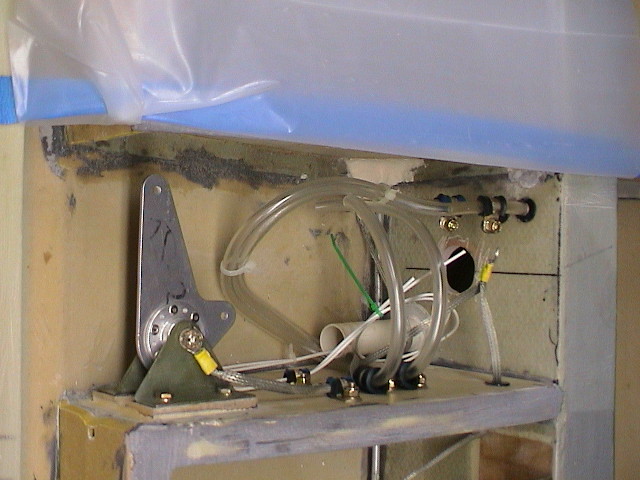
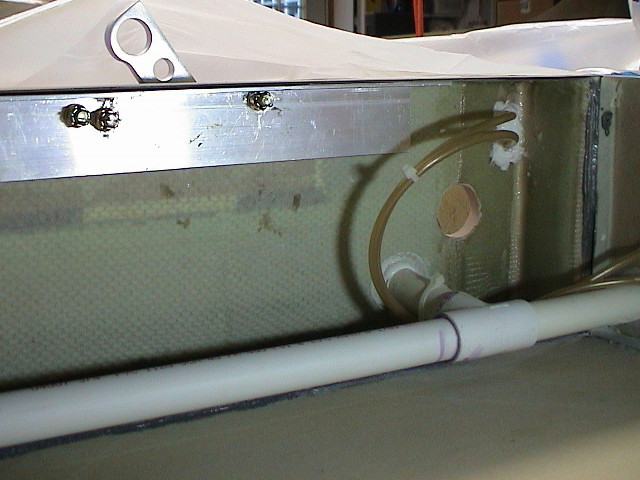
| Above: The wiring and pitot lines are
installed in the same area as the aileron bell crank. Kind of
crowded in there. Note ground wire and plastic sheet to keep
things clean.
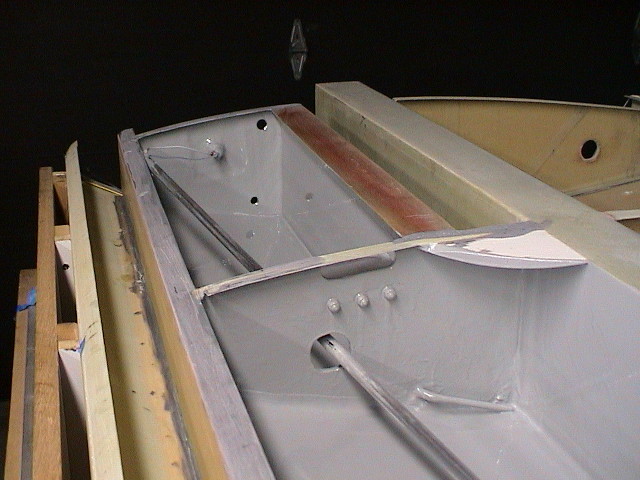
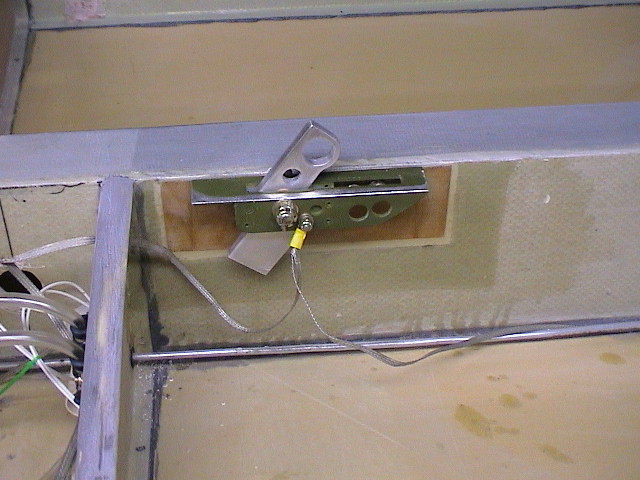
Right and Above Right: The retractable tiedown. The tiedown is mounted to a glassed in plywood insert with an aluminum angle on the inside to spread the load. (Overkill? Maybe but it will be very hard to get into this area if there is ever a problem so I would rather be safe.) |
 |
|
|
 |
|
|
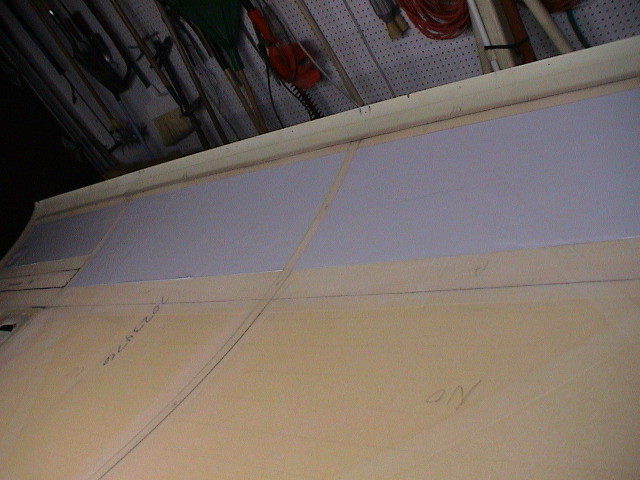
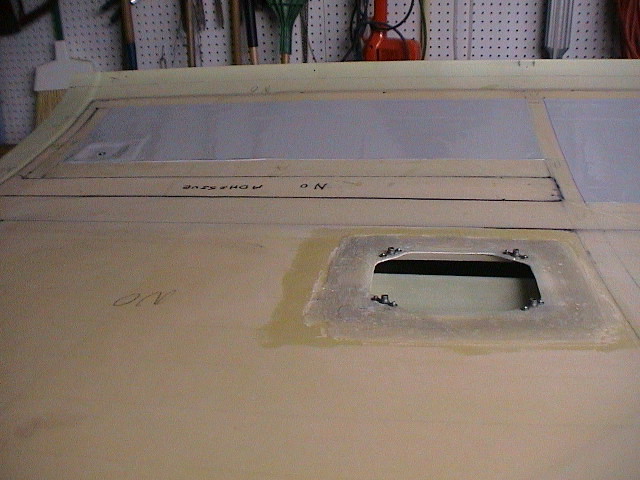
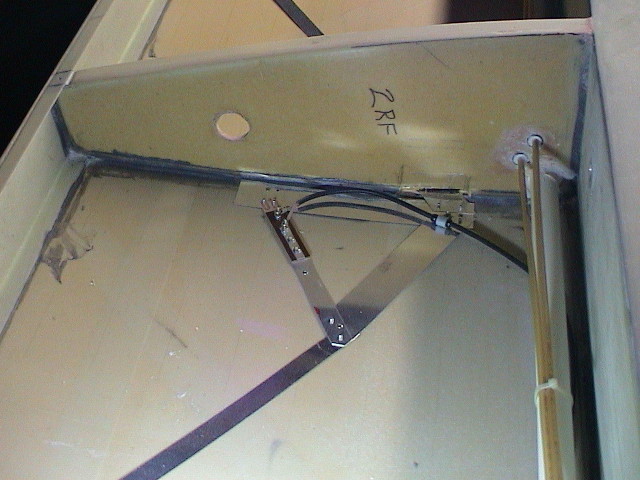
Above and Above Left: NAV Antenna
installation with one arm cut through Rib. Antenna in riveted in
place.
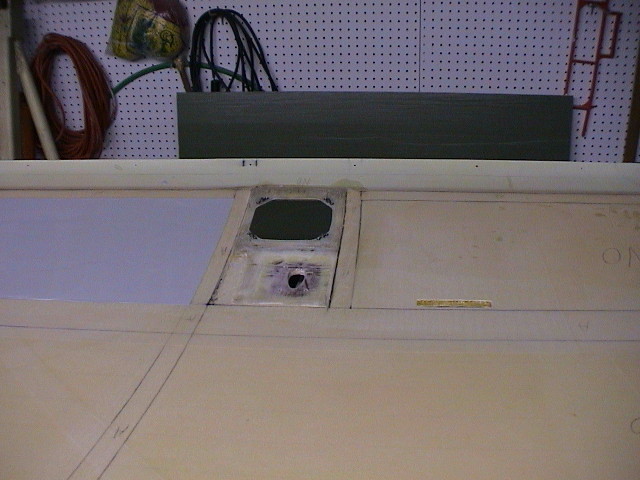
Left and Below: Jeffco 9700 sealed fuel bay. Left shows uel filler with vent line in corner. Fuel level sensor is the long tube running between bay one and two. Vent between bay 1 & two is in lower corner of bay 1 through rib to upper corner of bay two. Fuel sender is permanently glassed in place. |
|
|
|
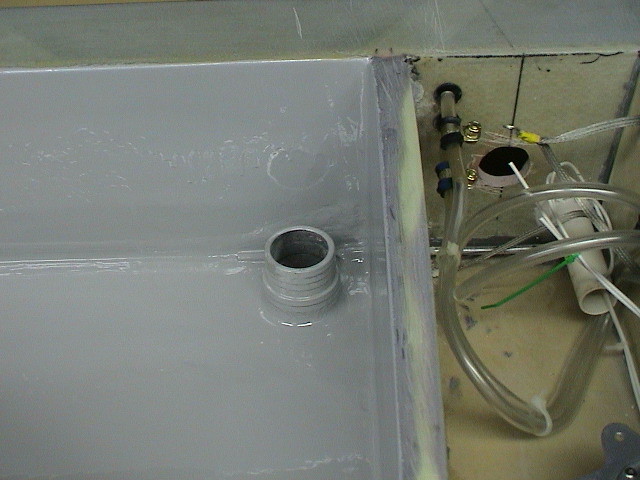
| Right: Lower wing with opening for Pitot
installation, cutout for retractable tiedown.
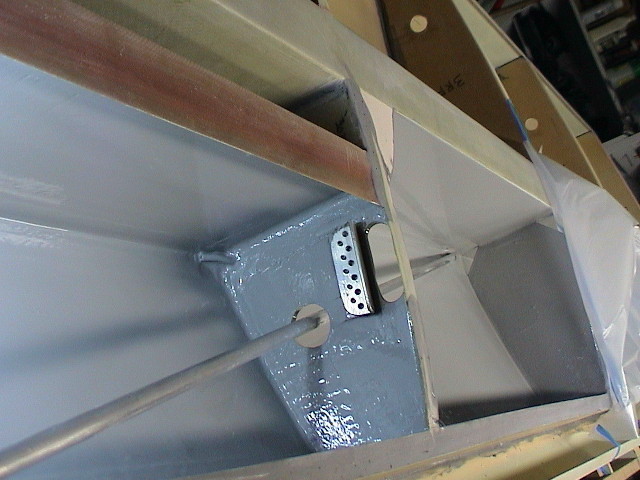
Below and Below Right: Jeffco 9700 Sealant and inspection cover for spar bolt installation. Everything is ready for the close out. |
|
|
|
|
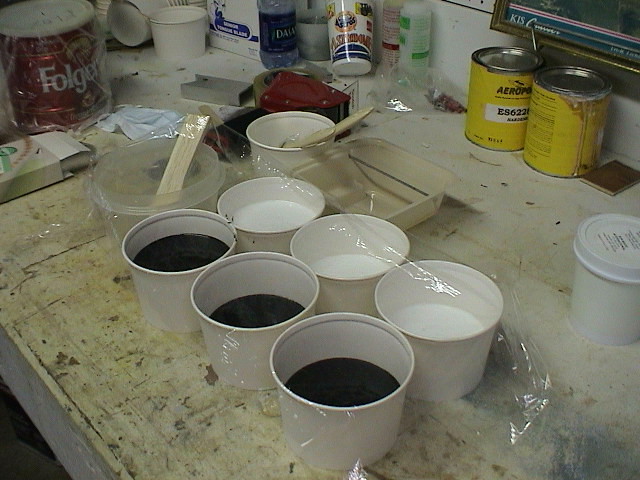
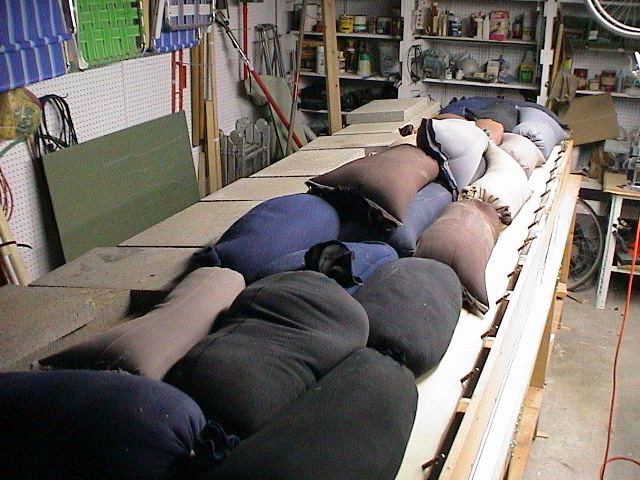
| Below: The secret to a good closeout is preparation! Before starting the closeout I had sanded everything, washed and wiped down everything. I had covered the fuel bay with plastic to keep it clean. Just before closing I did an Acetone cleaning and allowed to dry. I measured out all adheasive and had everything ready before starting. It took three of us two hours from start of mixing to completion of last stepping stone weight. Part of the supplies were an old plastic bowl for mixing large amount of adhesive. Also, three 1" paint brushes with the bristles shortened to make application easier. | The close out started by mixing one batch of adheasive with NO filler. This was painted on to all areas to be bonded, both top and bottom. This was the wet out. Next mix the remaining adheasive with flox (or milled glass) to form a thick mix. It should be thick enough to not run off the area to be bonded. I used cake decorating bags to apply a half inch bead to all areas and then spread that out with a squeege. The front edge was clecoed while hold the wing from contacting. Weight was added from the front edge with contact starting from the front to back. A lot of weight was placed on the front. |
|
|
|