
N247BR
Doors Preparation - Window Install
| I have broken the door preparation into several sections to keep the individual pages smaller and give some logical sections. | |
 |
Once the inner door panel has been positioned and tack
glued into place the next step is to start preparing the door for the
installation of the window.
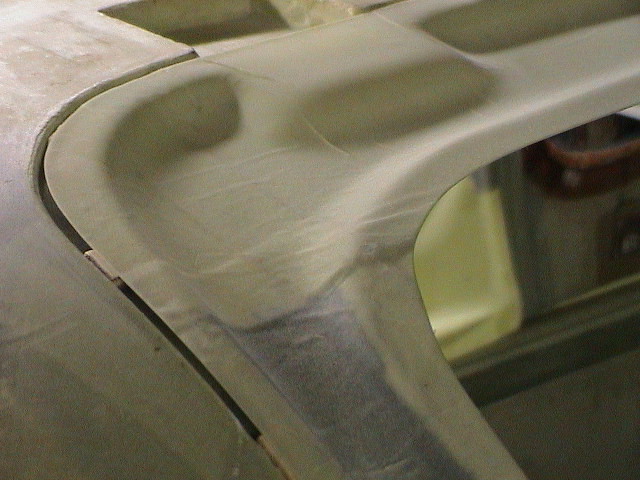
This photo shows the overlap of multiple layers of glass which forms bulges and bumps which must be removed to form a uniform surface for mounting the window. |
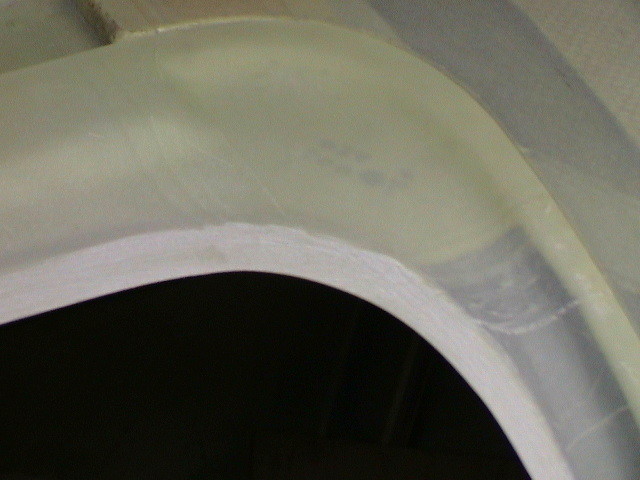 |
Sand or grind down the flange for mounting the window until it is uniform and the window fits without any gaps. Smooth the inside edge for a clean line. |
 |
Once the inner lip for mounting the window has been
prepared position the windows into place and tape or cleco as required
to hold them in the proper position.
(Please ignore the beautiful, slick and super expensive seat cover, it's only temporary.) |
 |
 |
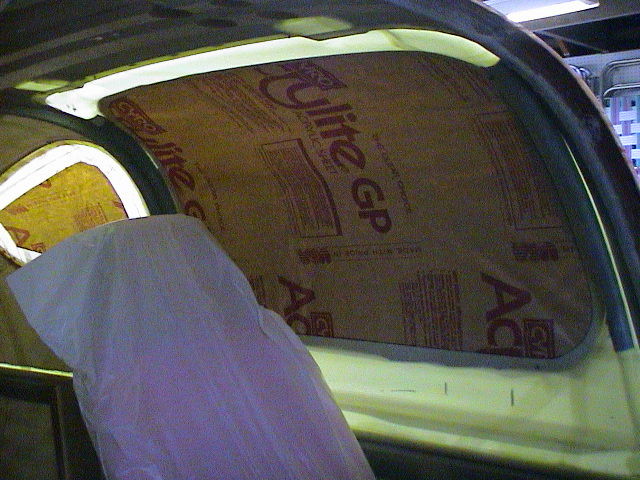 |
Check the fit from the inside and make sure that the window is in the proper position and then mark the inside for cutting back the protective cover and taping. Check the fit again after the protective cover has been cleared. |
|
Once the protective cover is pulled back, mount the window
with clecos. Be very careful drilling holes for the clecos and
make sure to use a drill bit especially for plastic. Tape the
inside and trim tap to opening. Remove the window, roughen the
bonding service, and bond in place. Make sure to butter both
surfaces before putting in place.
Be sure to remove the clecos BEFORE the adhesive cures or you may not get them out without causing damage. |
 |
Trial fit the outside skin and again mark the opening, remove the protective cover and tape to the opening. Trim the outside edges of the window to remove any excess plastic around the outside edges. Roughen the bonding area for application of adhesive during final close. |
NOTE! One big mistake I made in the above procedure. Before bonding anything you should just cleco everything in place and trial fit the skin and the window. The opening for the window inside skin and the outside skin did not match up. There were areas as much a 1/4 inch different. This is going to cause a lot of work that could have been easily avoided. It is not going to guarantee a perfect match because of minor position adjustments but should be much close than I got.
|
|
 |
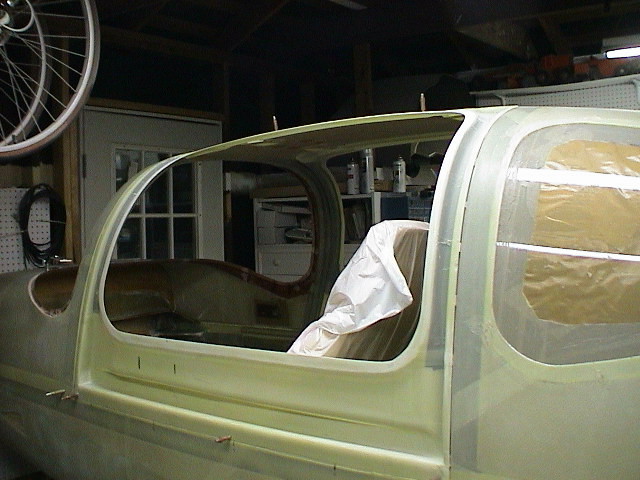
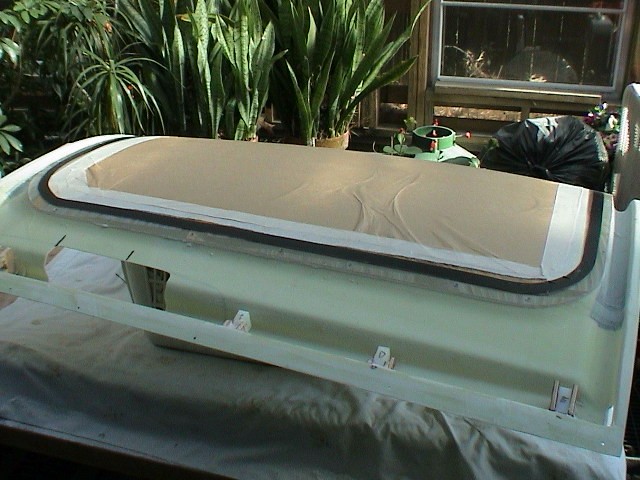
The door window is actually
in the door in this photo but as you can see it is very clear and clean
in this photo. This is very unusual since the hangars are so
dirty and dusty that from one week to the next a perfectly clean plane
will look like it hasn't been washed in months. These are
probably the dirtiest hangars I have ever seen. |