 |
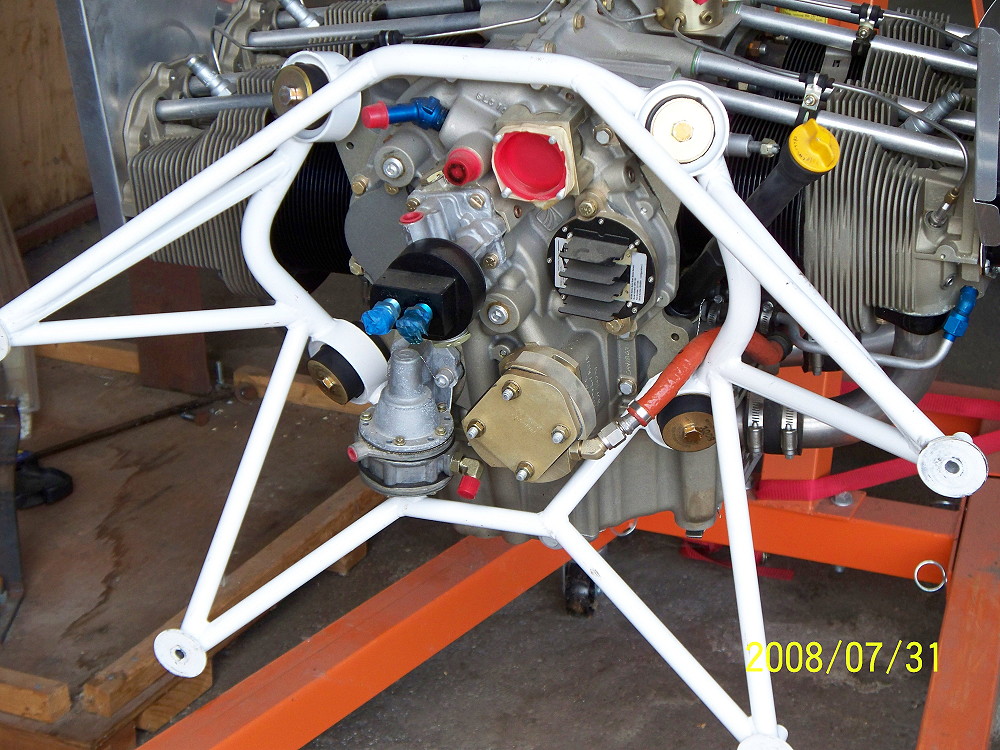
The first step for my engine mounting process was to
locate the electronic ignition sending units according to the
instruction manual provide with my AeroSance FADIC system. The
location of these units needed to be within certain limits but clear of
the engine and engine mount. The best location for many reasons
was high on the firewall. The cross braces on the engine mount
made the location very difficult. I finally determined that 1
inch spacers would be required for the engine mount to give proper
clearance for the electronic units as well as the other accessories on
the rear of the engine. |
 |
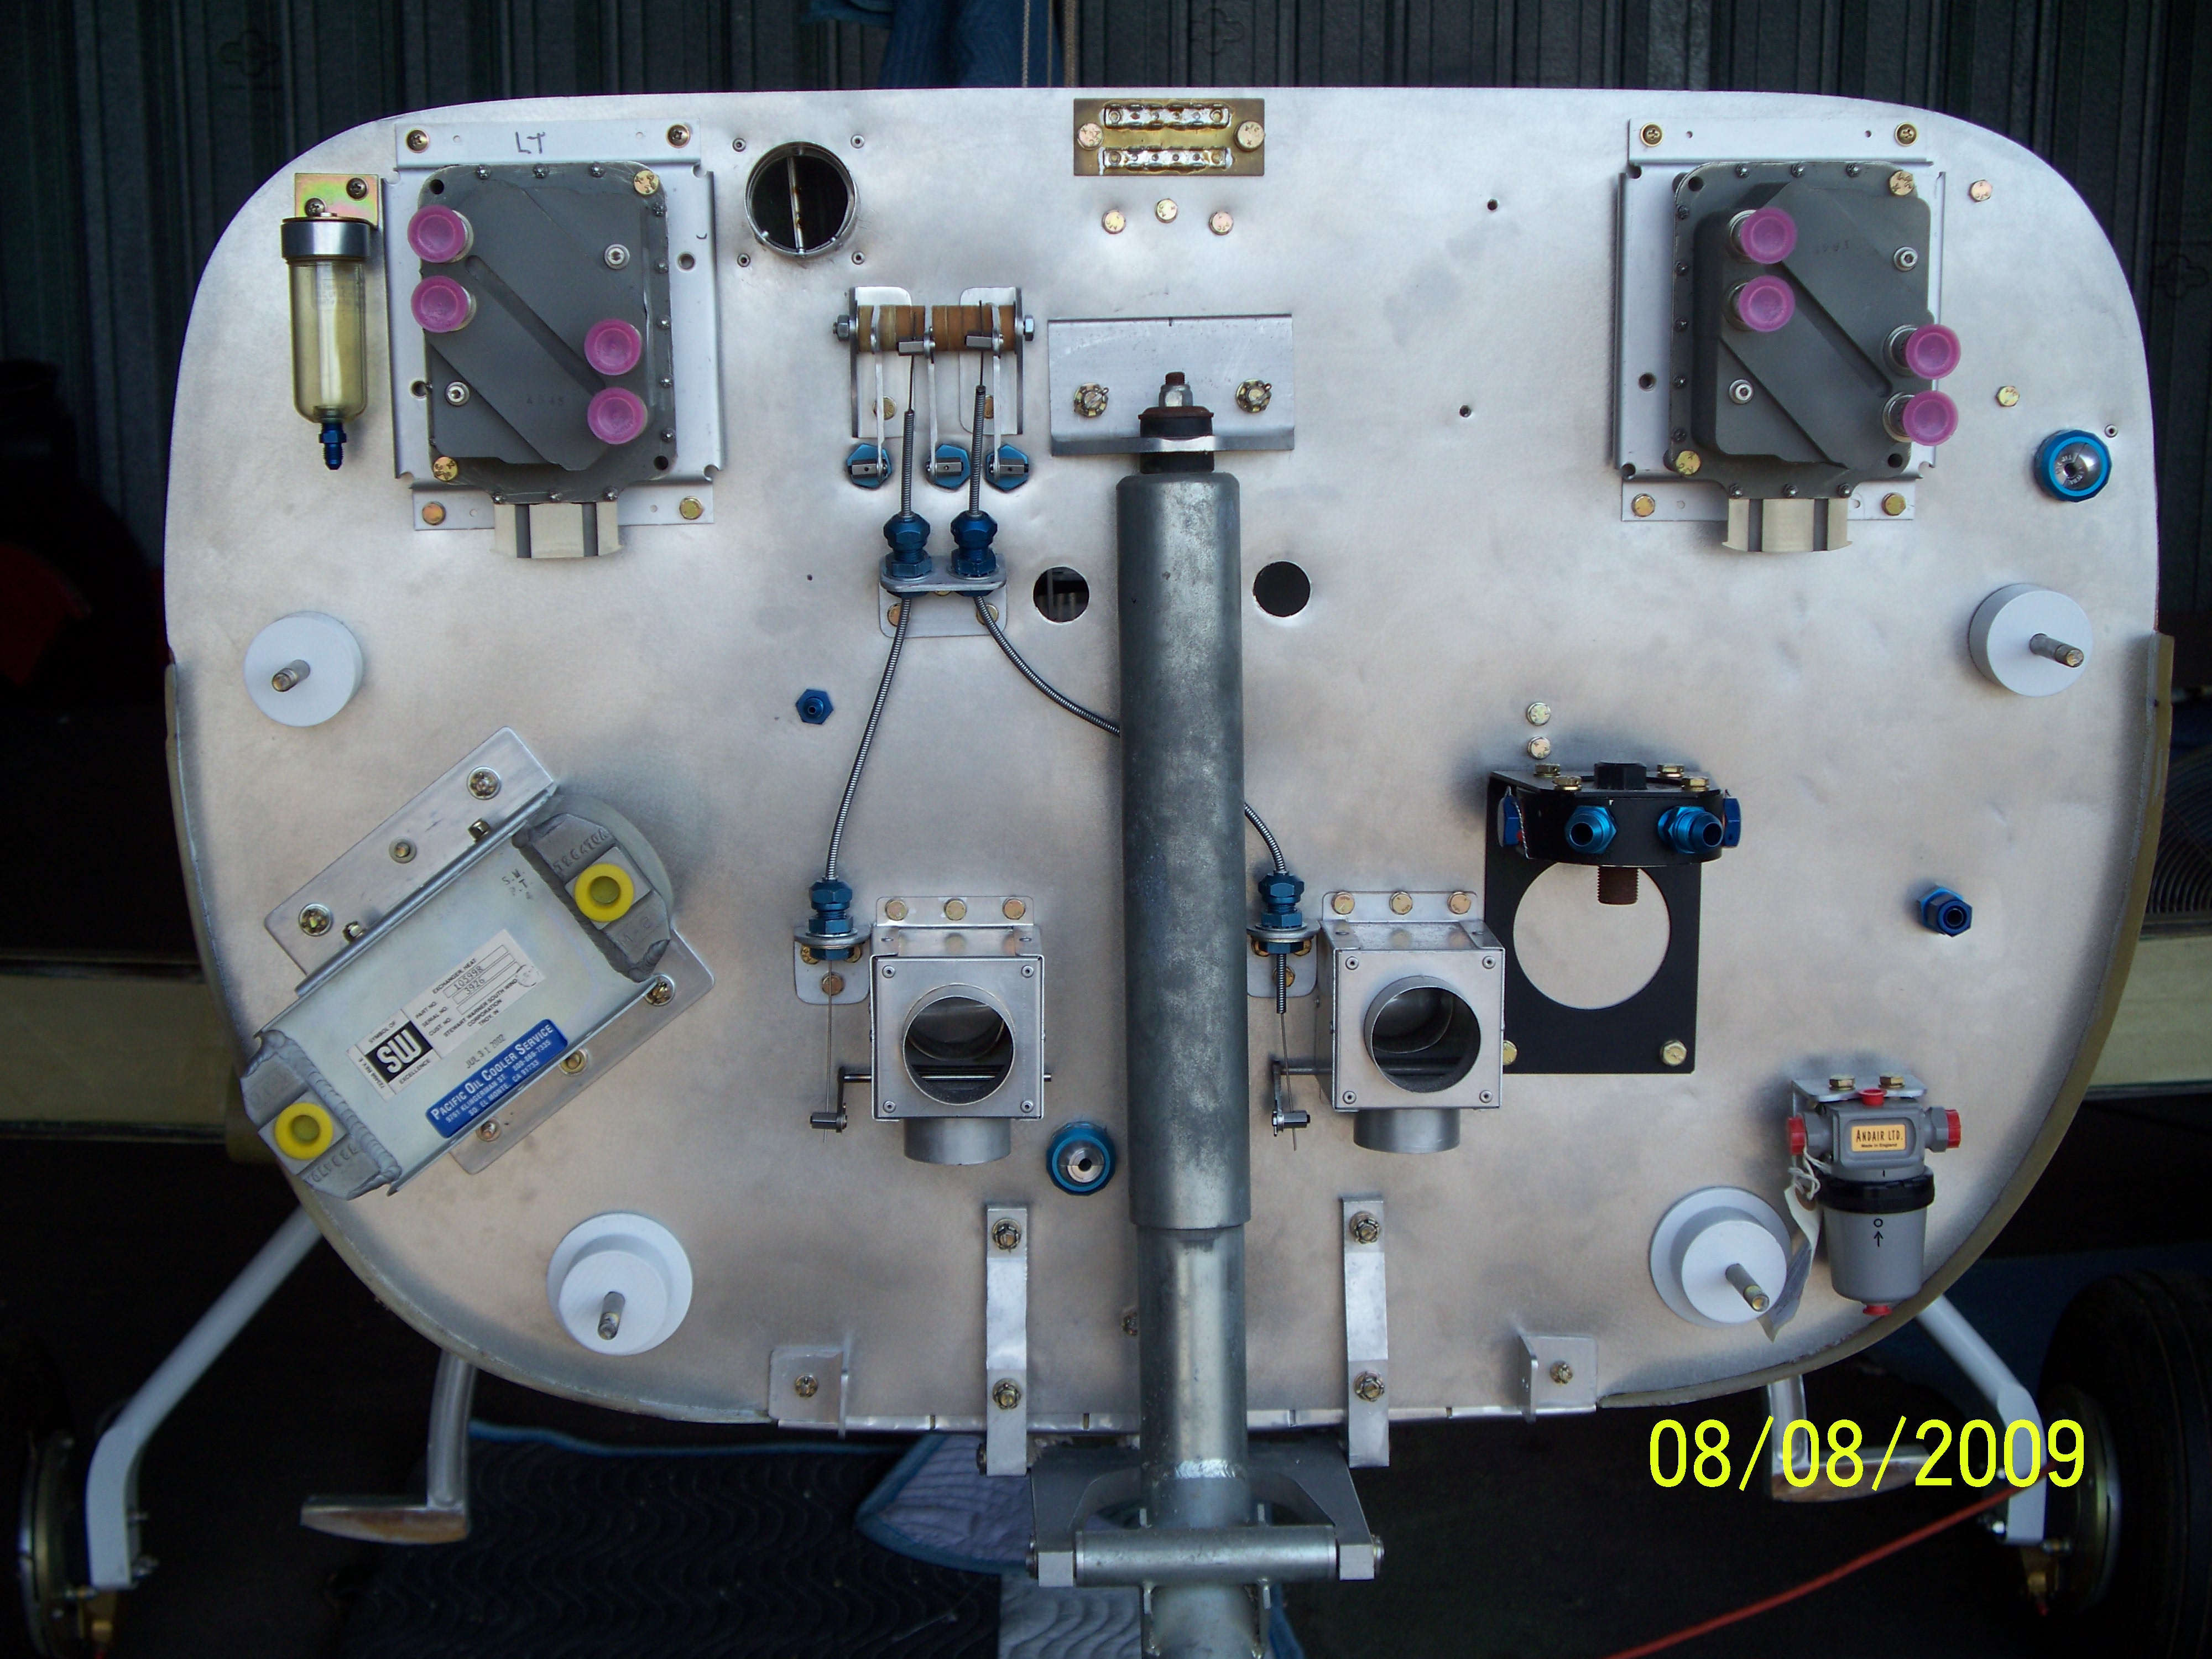
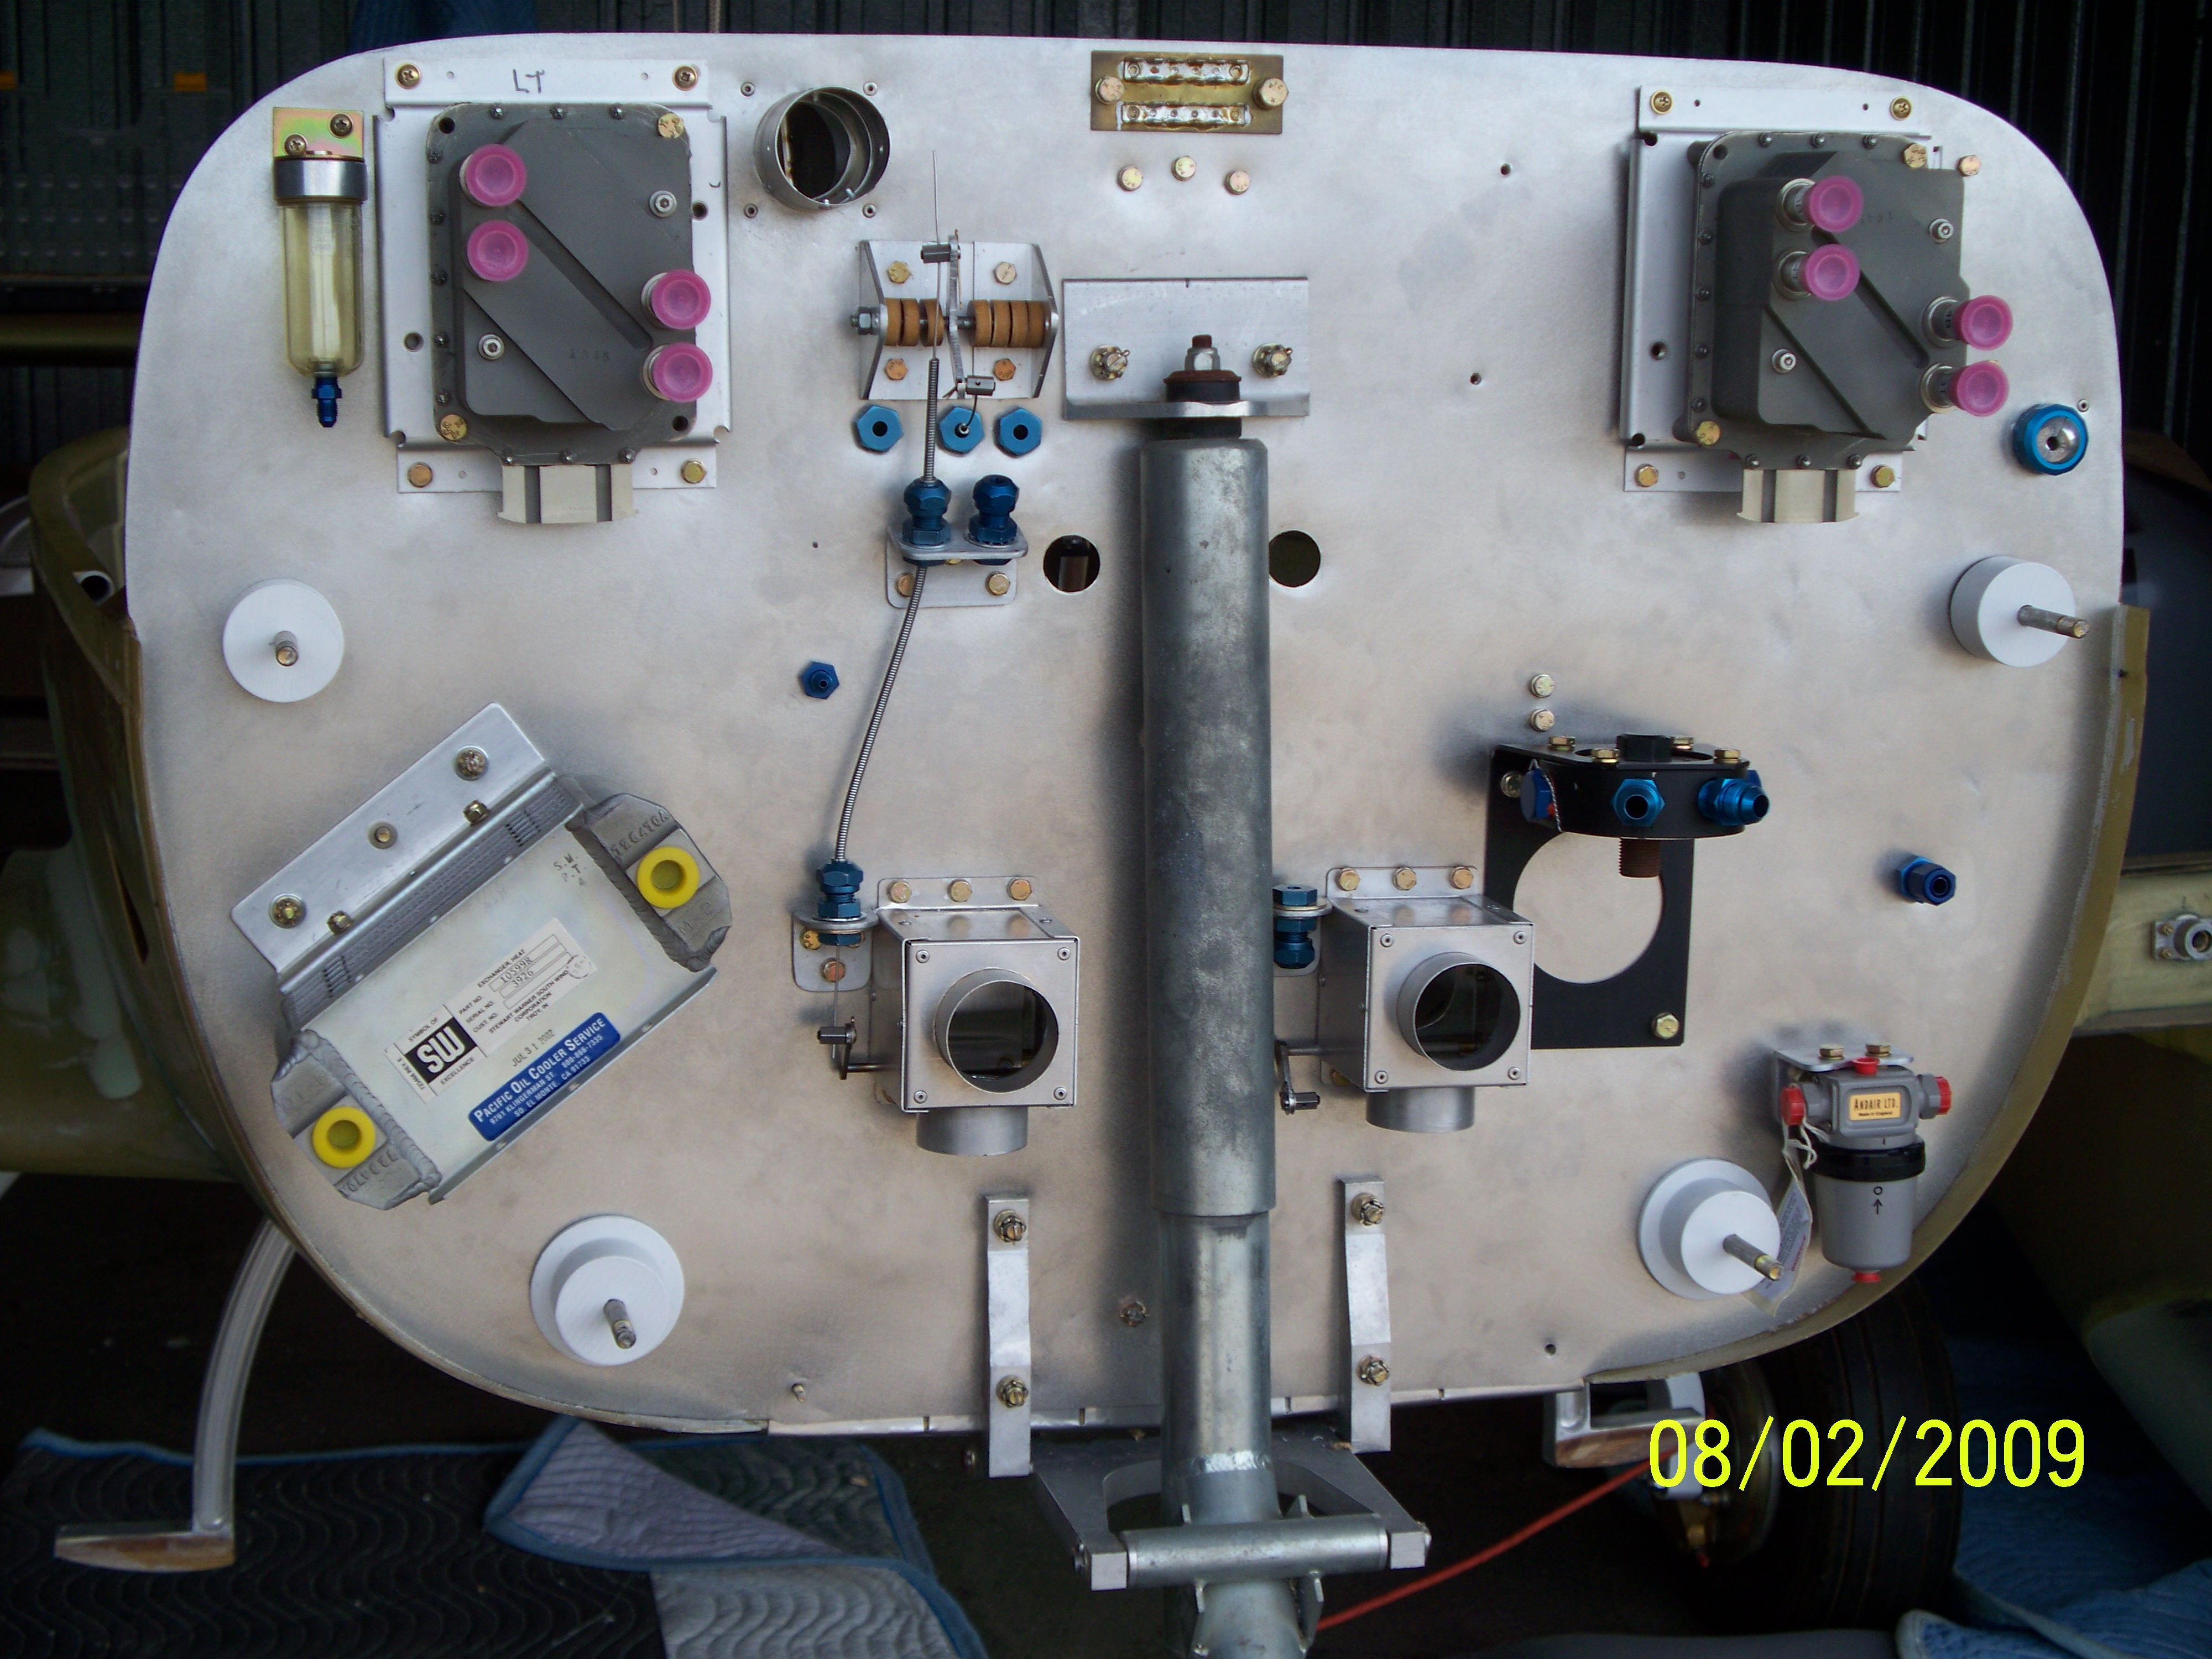
I did a preliminary mounting of the main sections of the
baffle for determining how everything would fit. |
 |
The engine mount was then mounted to the rear of the
engine. This is much easier to do by mounting to the engine first
then mounting to the firewal. I am using a remote oil filter and
have replace the standard filter with the adapter for the oil hoses.
I quickly found that this was NOT going to work and the adapter
will hit the nose gear strut. I will need a 90 degree fitting for
the adapter. |
 |
The initial mounting of the engine, once the engine mount
was attached to the back of the engine was very easy and things were
moving quickly. Too quickly I was going to learn. |
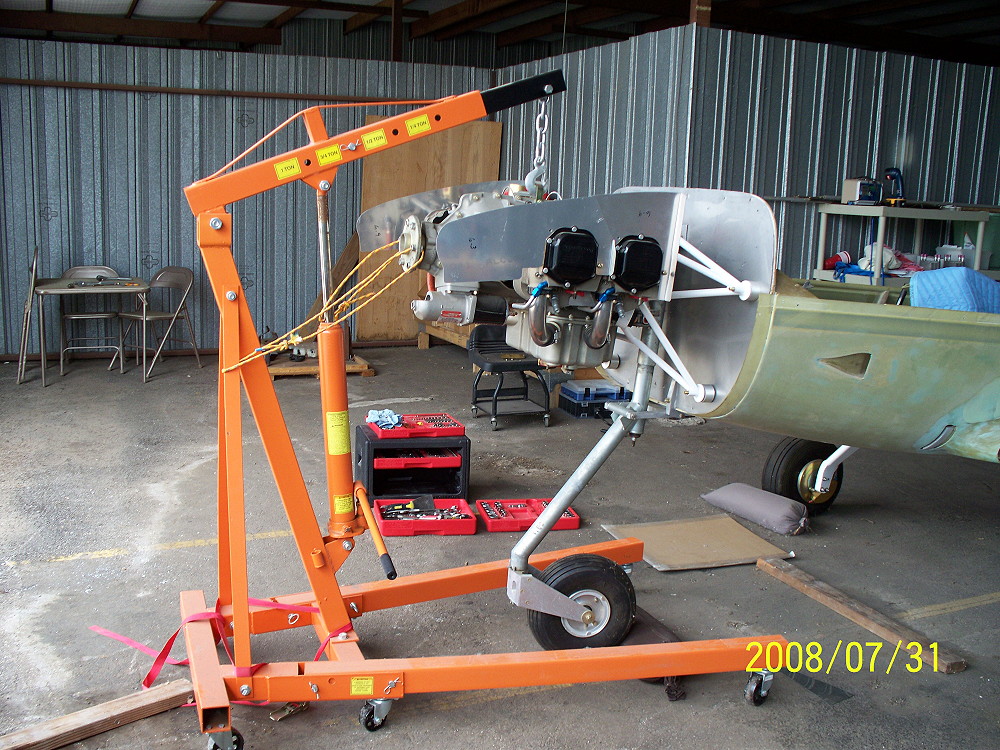 |
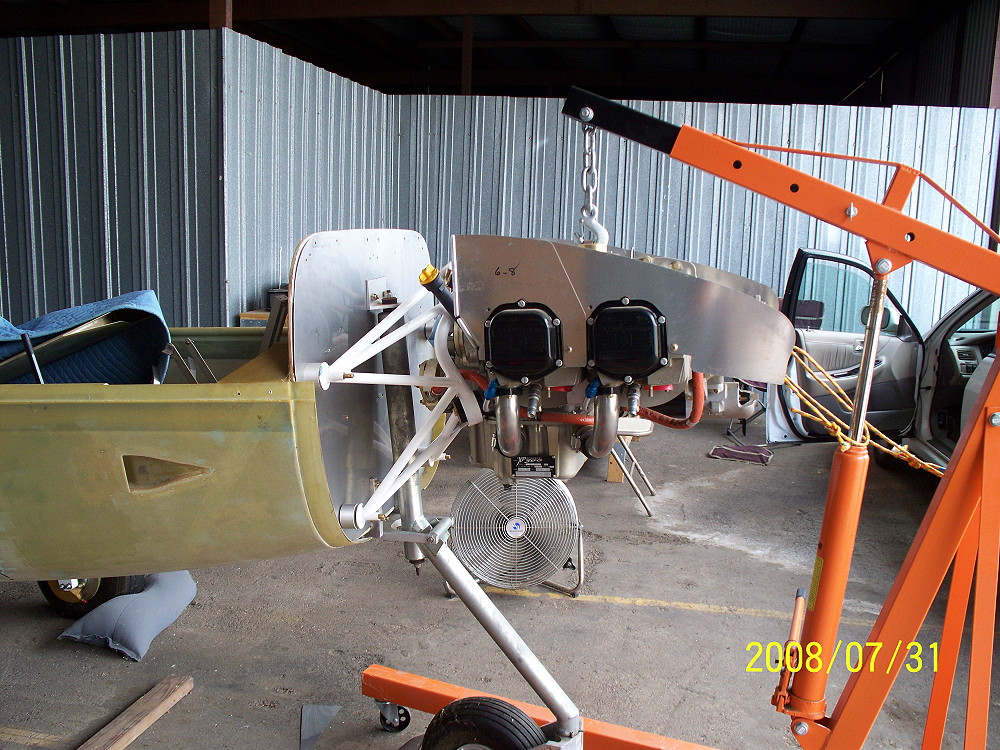
Using the engine hoist made the moving and mounting of the
engine simple and a one man job. I have taken the engine off and
remounted several times and have got it down to just minutes. Its
a good thing too, I will probably be doing it a dozen times. |
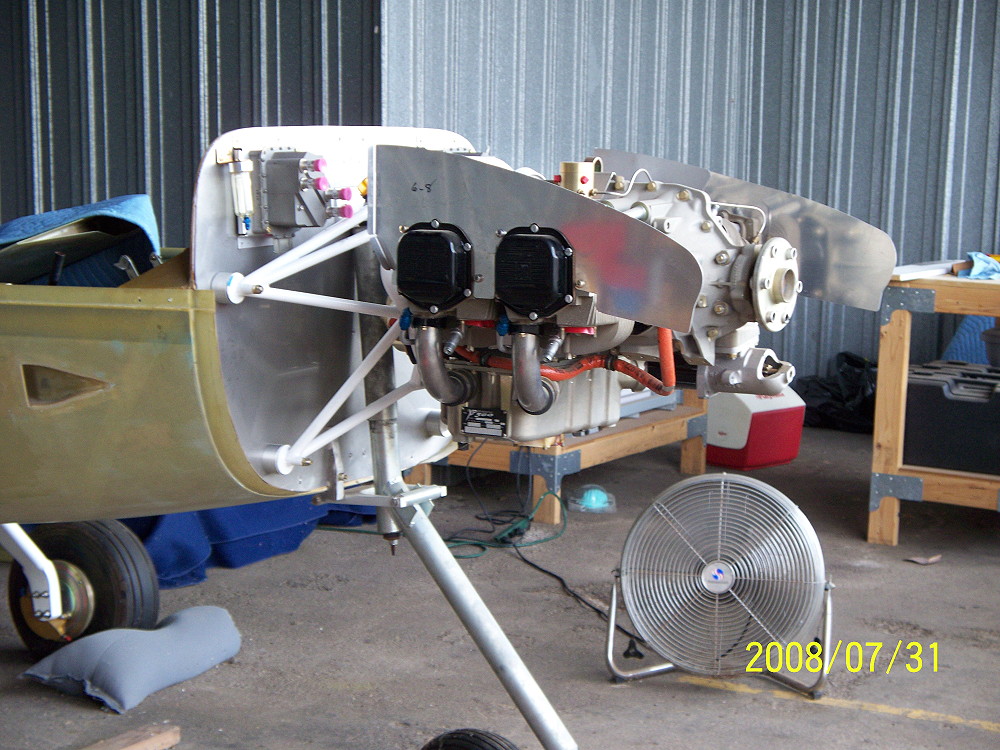 |
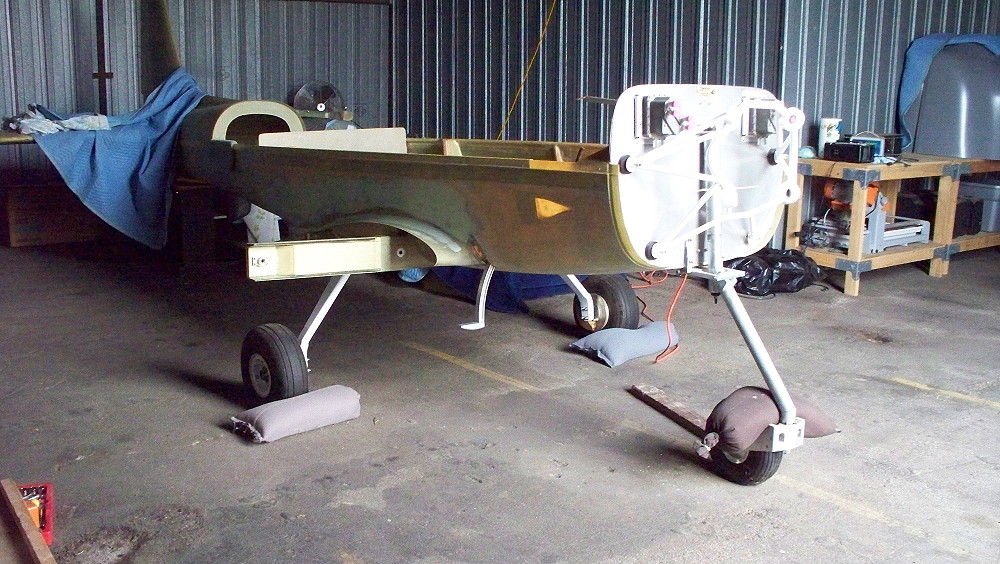
The engine is mounted with the 1 inch spacers in place.
The baffle is in for determination of how it will fit with the
cowling. |
 |
Seems we have a minor problem with the baffle. The
baffle was design for an RV-6 and as can be seen doe not fit with the
Cruiser cowling. It is clear that the baffle will need
substantial trimming so I removed it for the time being and will work
on getting the cowling fit. |
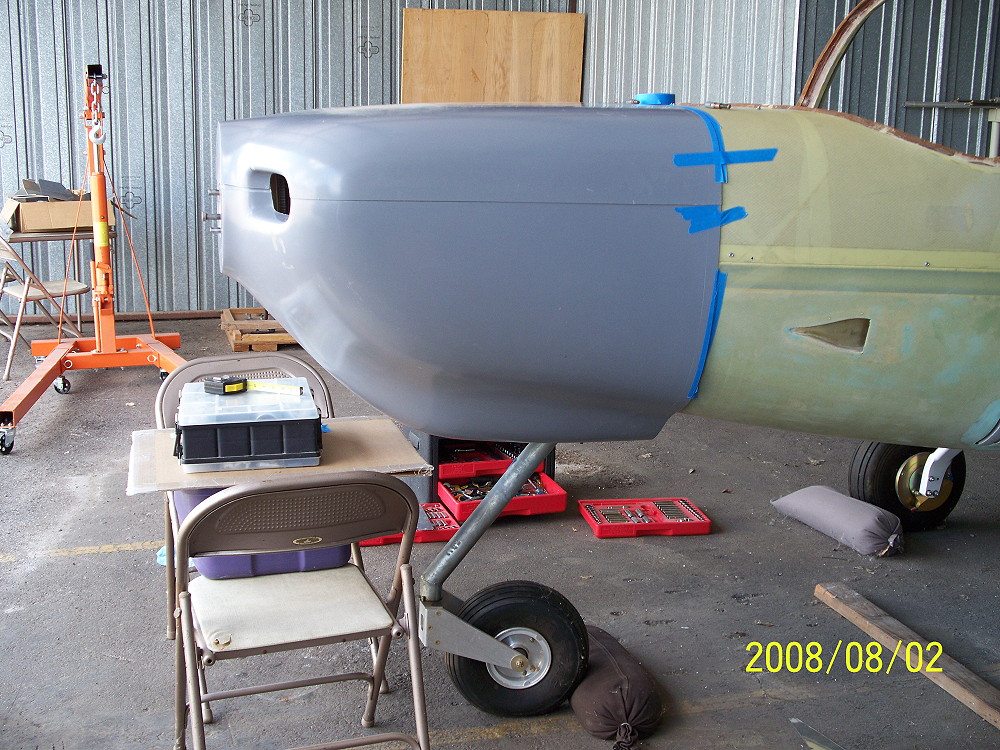 |
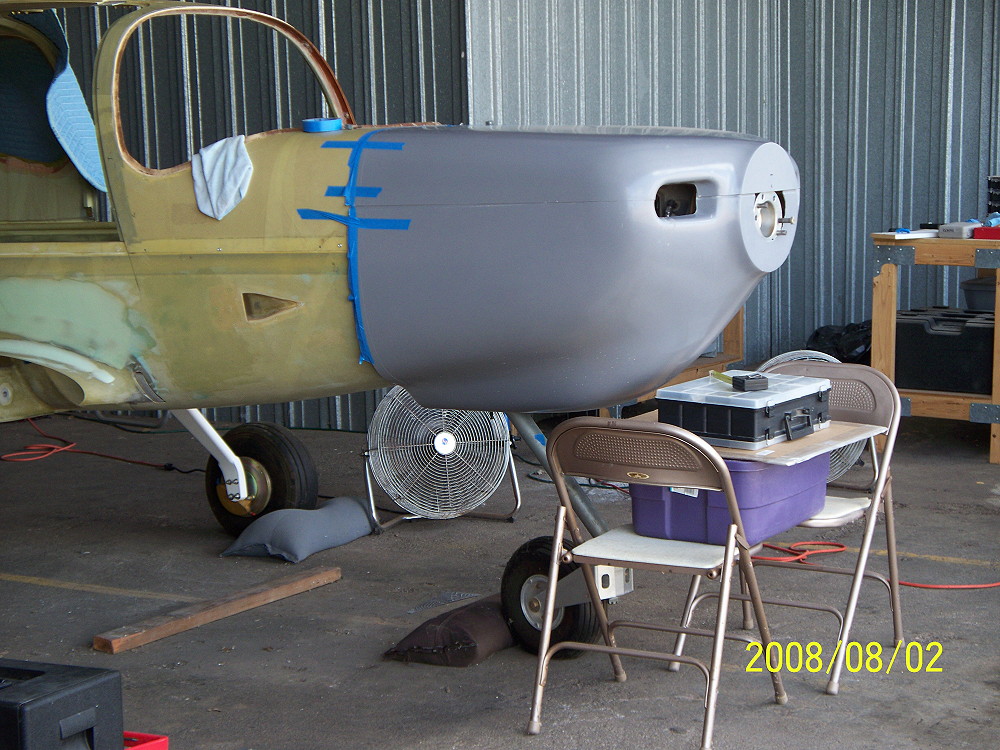
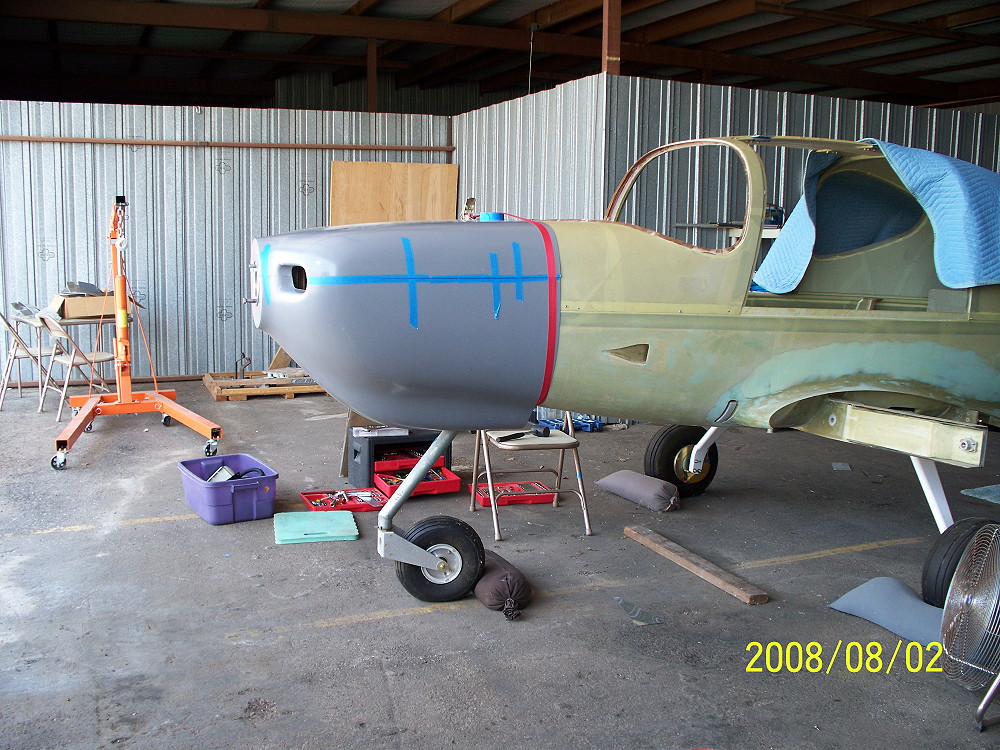
With the engine in place, I mounted the top and bottom of
the cowling using the scored line on the cowling as a guide. The
purpose of this step is to determine alignment of the cowling to the
engine. |
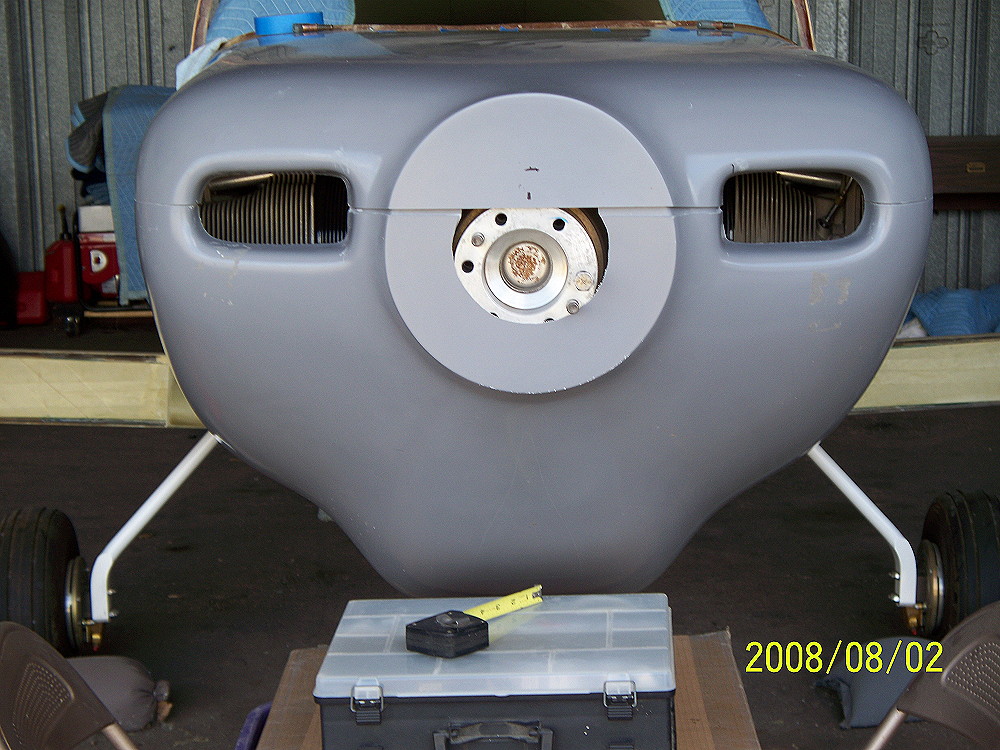 |
Houston, we have a problem! The view from the front
shows a problem with the verticle alignment. The engine is
setting about two inches too low to the indicated position of the
cowling. |
 |
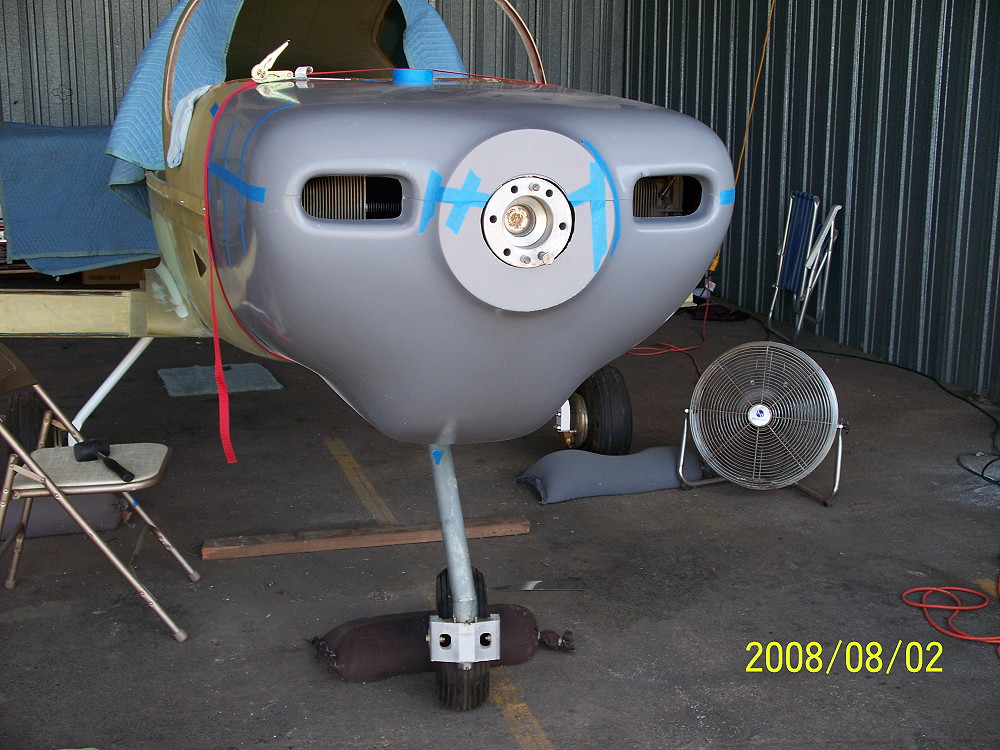
You can see the misalignment could be partially adjusted
by repositioning of the cowling. The nose of the cowling appears
to be a little bit high. I did the adjustment but the
engine was still slightly low to the cowling. I then checked the
alignment of the engine to the level line of the fuselage. There
was a slight downward slant to the engine. |
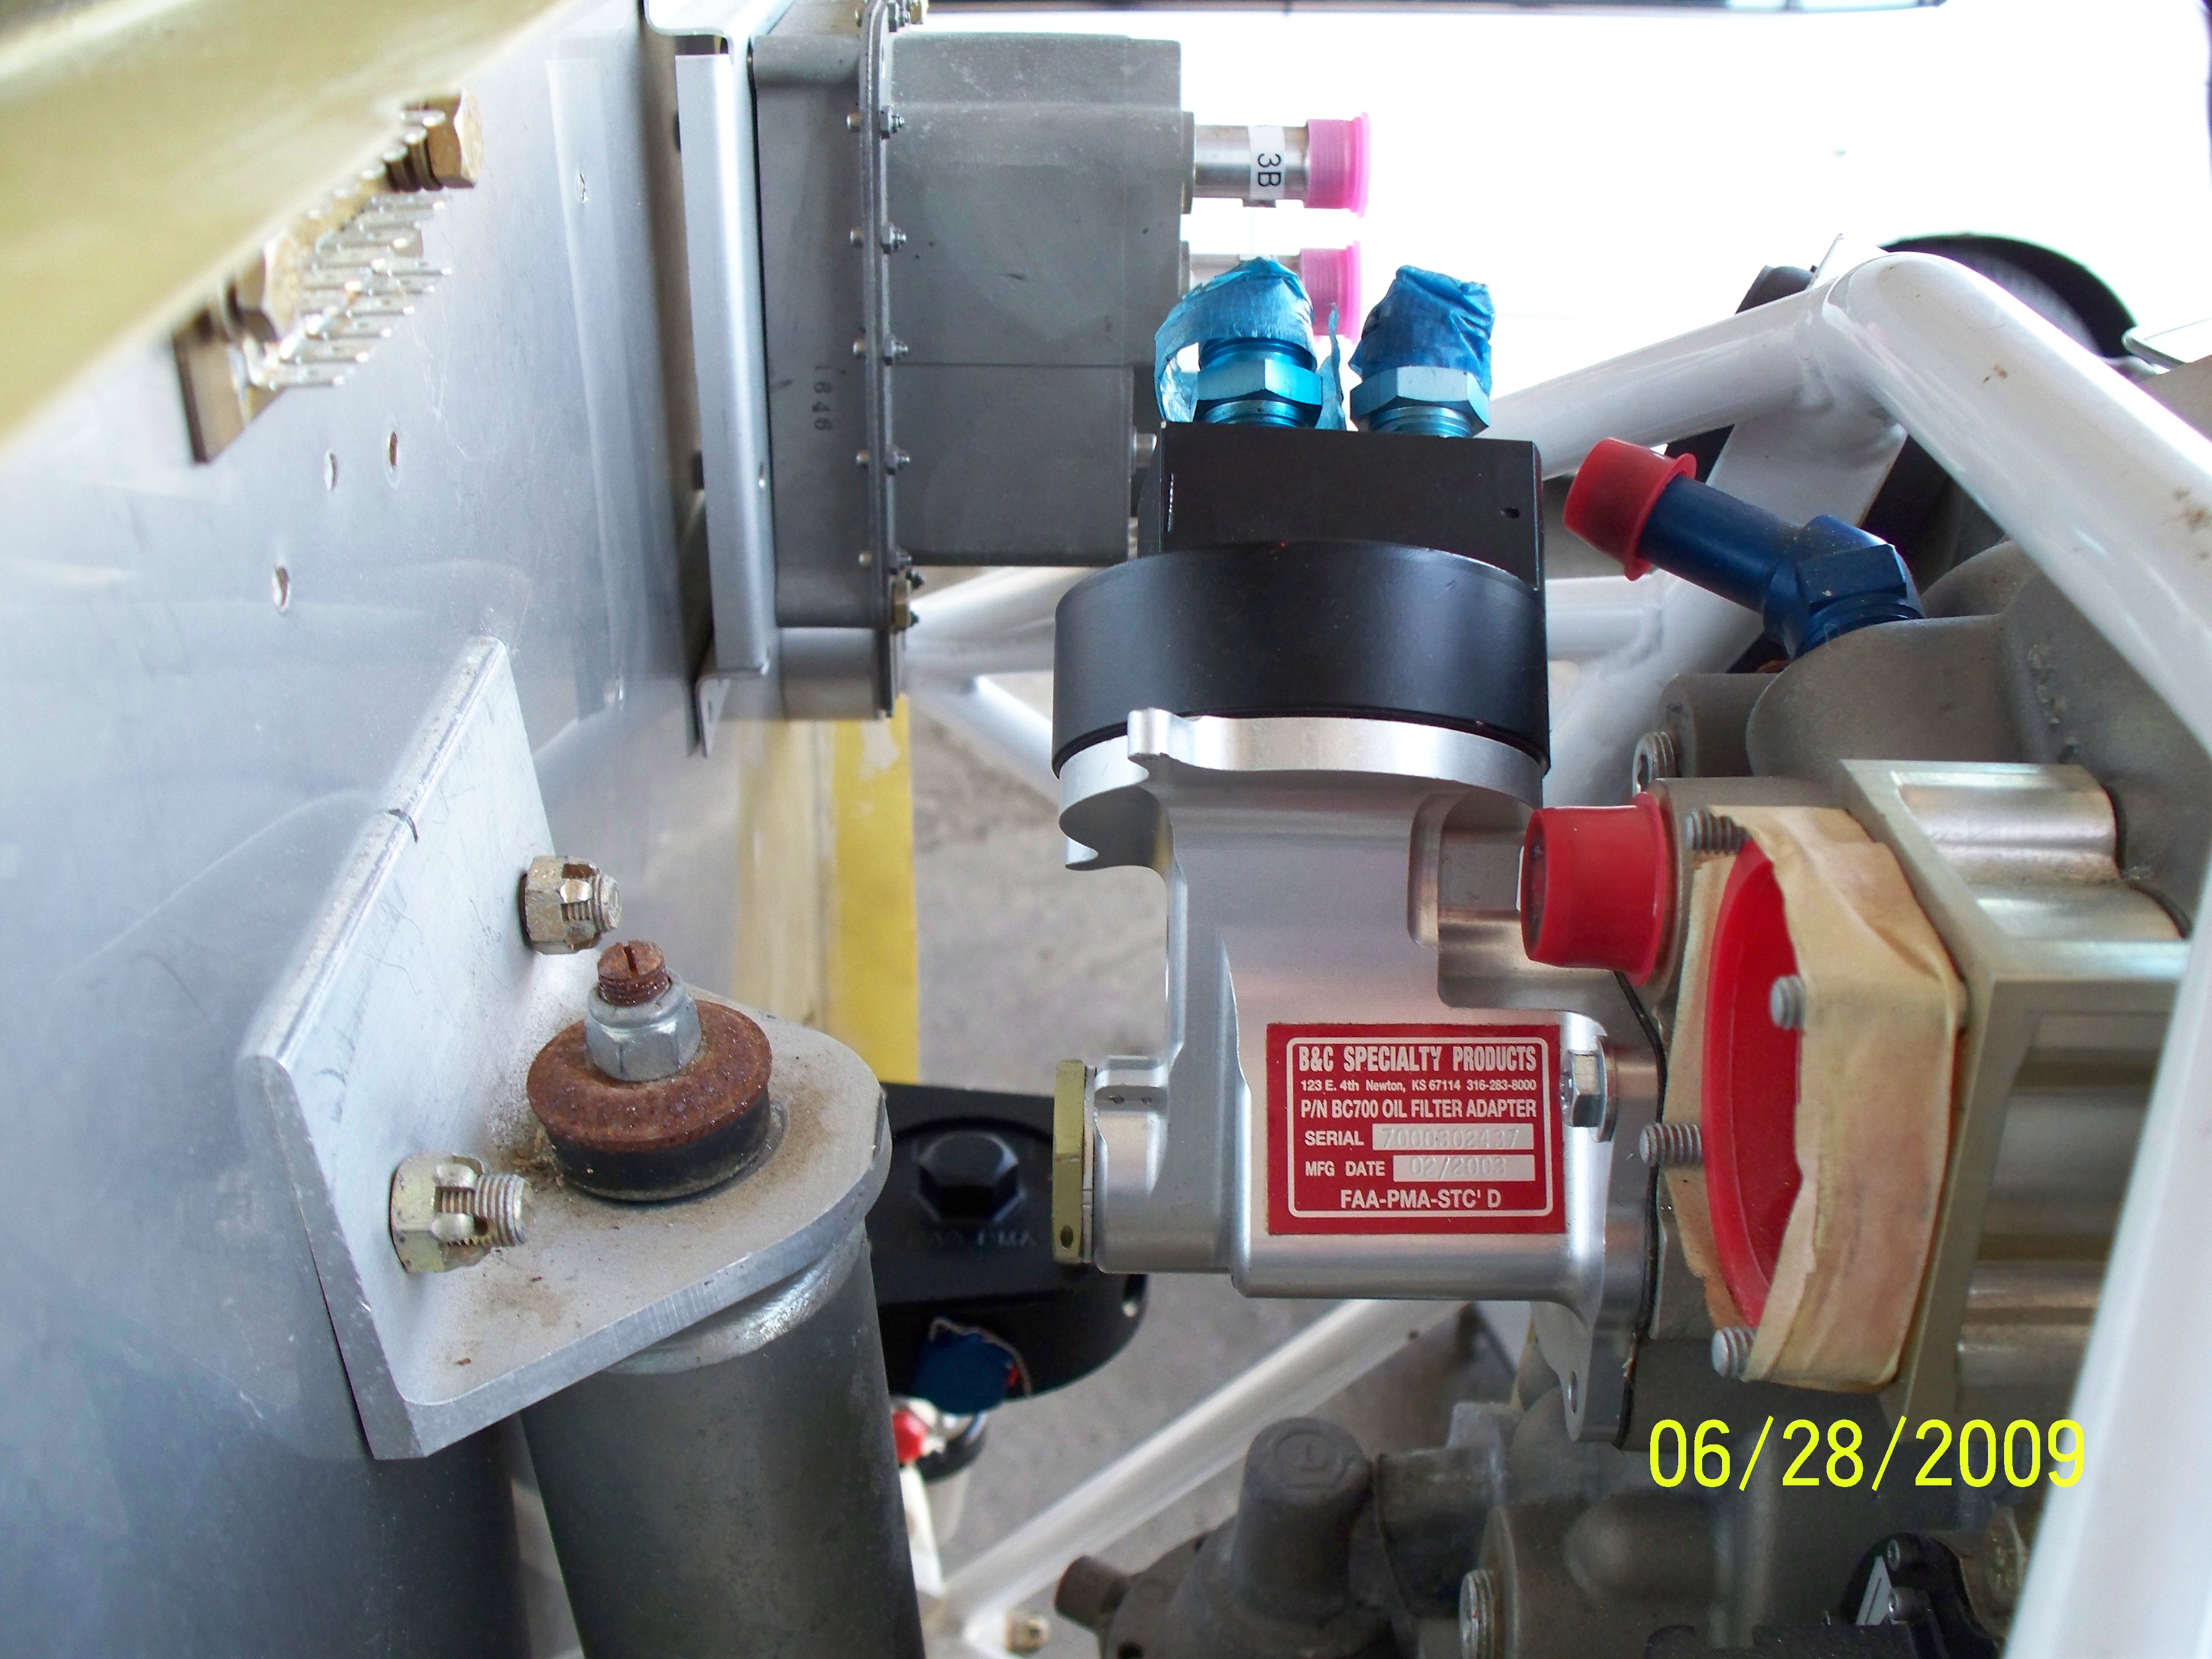 |
The original oil filter mount and filter was attached
to the back of the engine and jutted straight out and
would have hit the nose gear strut. I decided to use
a remote ADC Oil Filter. The adapter for that remote
attached to the rear of the original oil filter adaptor.
The oil hoses would not have had room to attach and
make a clean turn. Partly for that reason and in order
to have room for the FADEC Control Units I added
the one inch spacers between the firewall and the
engine mount. Even with the one inch spacers, the
clearance for the oil lines would have been minimal
and a tight bend would have been necessary.
|
 |
Instead of dealing with a tight bend in the oil filter
hoses I swapped out the original oil filter adapter and
installed the B & C Specialty Products 90 degree filter
adapter shown. I then mounted the remote filter adapter
to that. This combination will allow for an easy bend in
the oil filter lines to the remote filter. The filter is now
in an easyly accessable location with a vertical
orientation that will mean NO SPILLS when changing
the filter. |
 |
To realign the engine, I inserted a wide washer under the
spacers I used for spacing the engine forward of the firewall. |
 |
The spacers can be clearly seen along with the washers. |
 |
Following the addition of the washer to lift the front of
the engine, the cowling was repositioned to again check the alignment. |
 |
This view shows an improvement in the alignment and the
remainder can be adjusted by the fitting of the cowling. I am
waiting now for the prop and spacer that I will use for final
installation before going farther. |