
N247BR
Ailerons
Aileron Page1
Aileron Page
2
Aileron Page
3
Aileron
Mounting
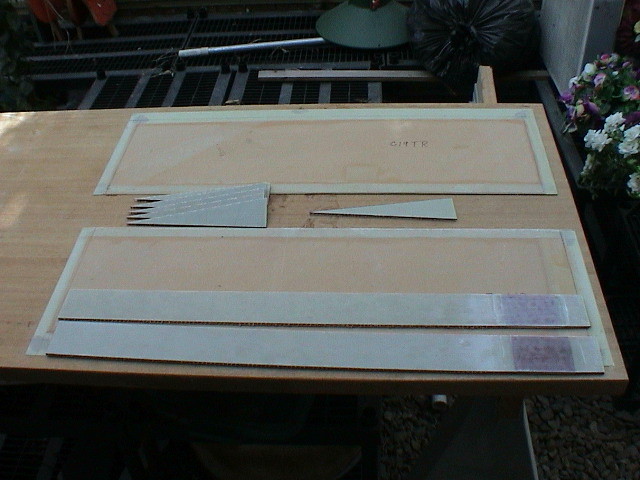 |
The parts for the ailerons have all been cut and trimmed to the diminsions as indicated in the manual. I made two hardboard templates for the ribs and then trimmed all the interior ribs to match those templates. The top skins have been tacked to a solid core door with 5-minute epoxy to provide a flat surface. |
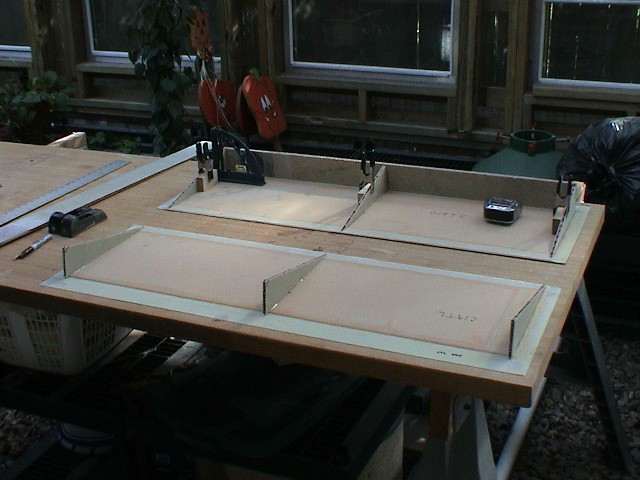 |
The position for the spar and ribs has been marked and the ribs tacked into place with a mix of 5-minute epoxy and flox. |
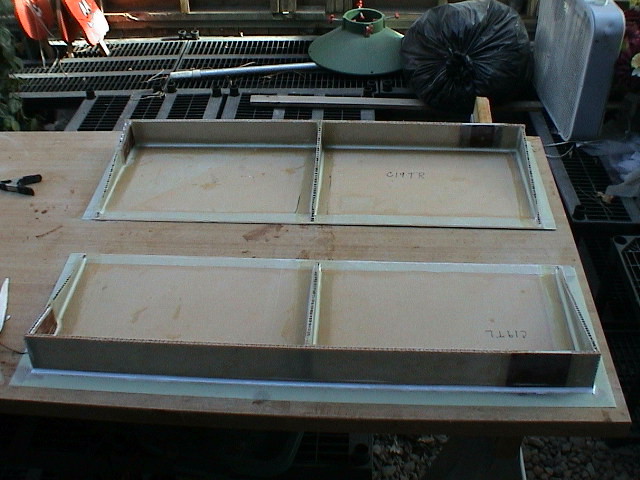 |
The ribs and spar have all been glassed into place. The control horn block is located to fit with the control shaft on the wing. (Make sure you trial fit before you glass or double check to ensure you have the mounting block in the right position. Note the extra 1/4 inch block on the outside rib for mounting the counter weight. |
 |
The front of the spar has not been glassed yet and will
not be until the top (or bottom in this case) has been bonded.
PS: The trashy looking work area is actually my greenhouse attached to the back of the garage. It makes a great work area in the spring and fall but is full of plants in the winter and too damn hot in the summer. |
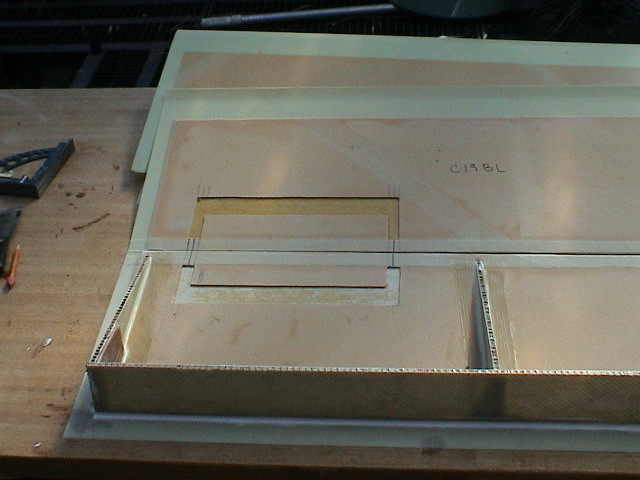 |
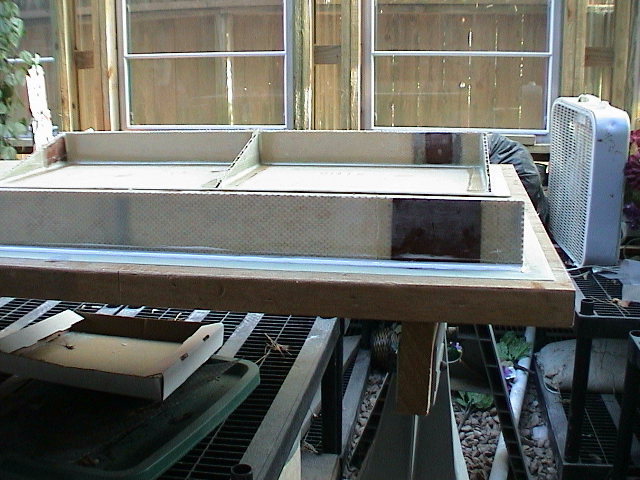
I marked out and prepared an area for a 12 inch long by 3 inch aileron trim tab. The area has been cleared out and is ready to install the forms for the tab. |
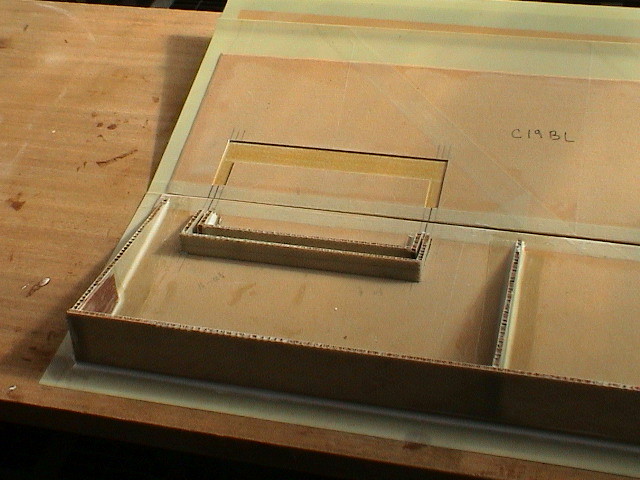 |
I used the pattern and cut four small ribs and a couple of spars and positioned them with the 5-minute epoxy/Flox mixture. These will be glassed with a 1/2 inch bid and bonded to the bottom before being cut out. |
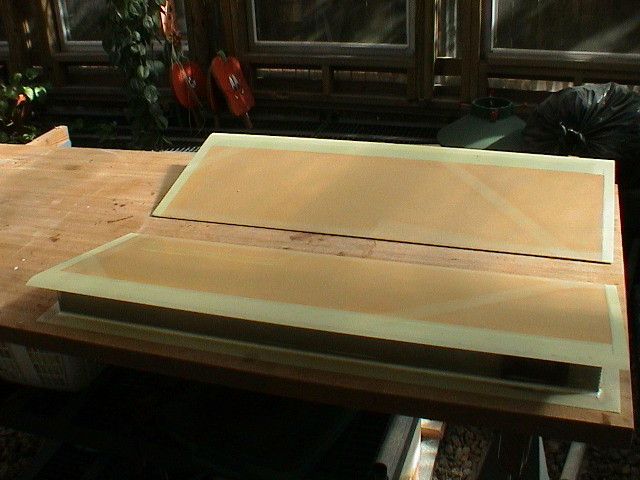 |
I couldn't believe it but a trial fit of the bottoms and
everything including the trim tab fit like it was intended and after
only two days of work.
Some days we just get lucky....or could I actually be getting good at this stuff. I will use 5-minute epoxy to tack the bottom in place temporarily while I check the aileron to the wing to make sure it has proper fit and clearance for the bottom once hinged and installed. |