
N247BR
Wing Flaps
| Construction Part 1 | Construction Part 2 | Construction Part 3 | Flap Controls |
 |
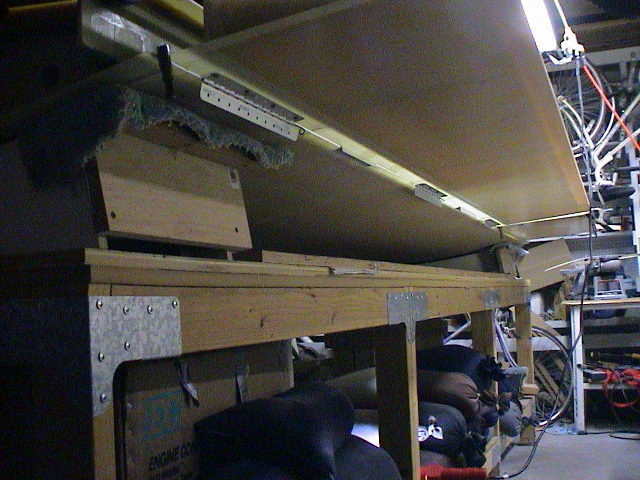
Using the straight edge the hinges are positioned and mounted to the outside edge of the flap. |
 |
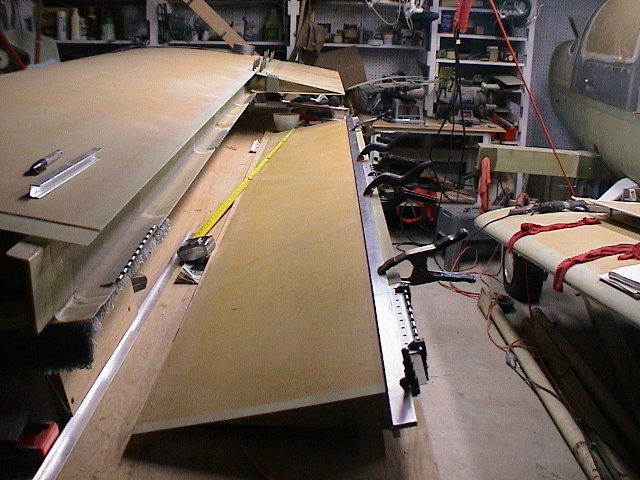
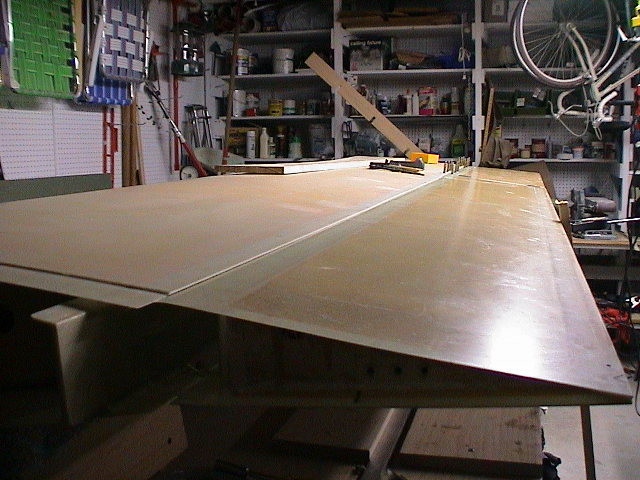
The flap it then positioned and clamped to the wing. |
 |
The aileron should be mounted before attempting to position the flap so that the proper spacing can be obtained. |
 |
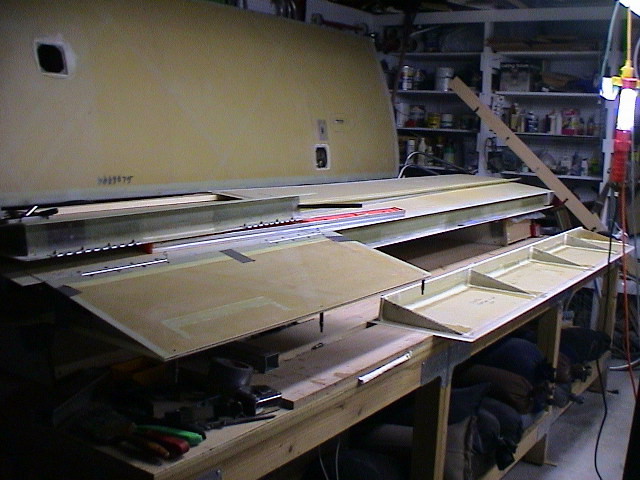
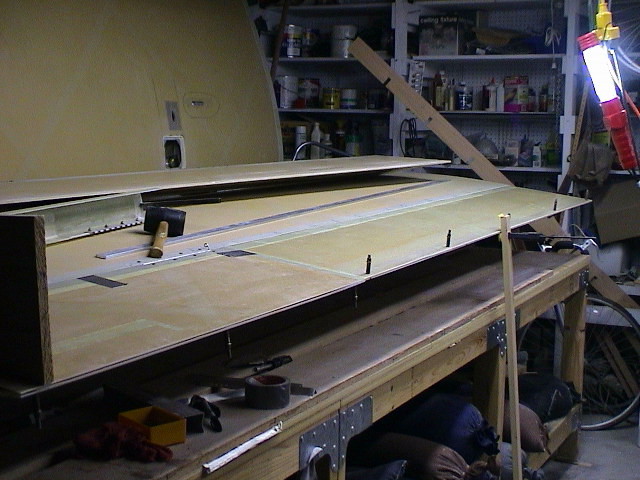
I used everything from duct tape to clamps to position and hold the flap in place while I got down on my knees to position and drill the holes for the hinges. |
 |
I taped several pieces of angle aluminum (1/16") to obtain a uniform gap. The tape held everything in place while I used the hinges to drill the holes. I sure wish I had used this method on the elevator. |
 |
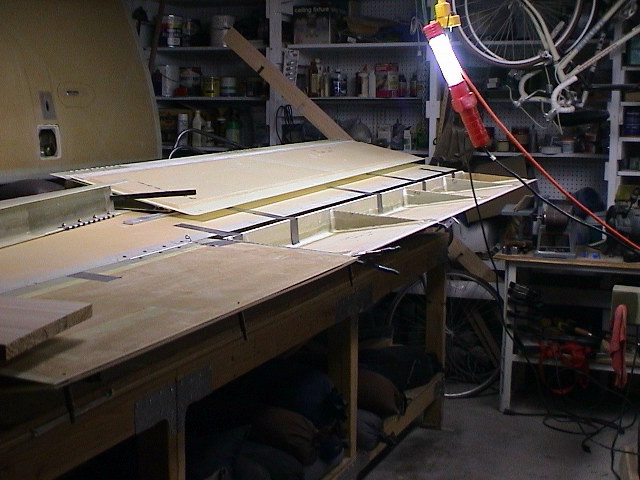
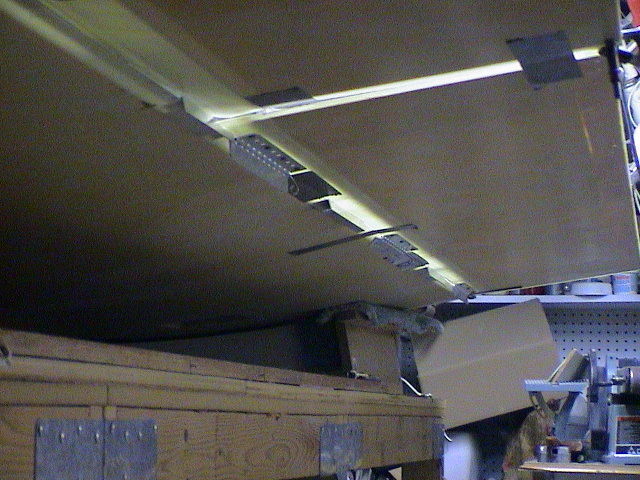
The whole wing was slid out where I could get under it to drill the holes. Use tape to hold the hinge in place until you can get a couple of clecos in place. After that, it just a simple process to drill the holes and brush the chips out of your face and spit them out of your mouth. |
 |
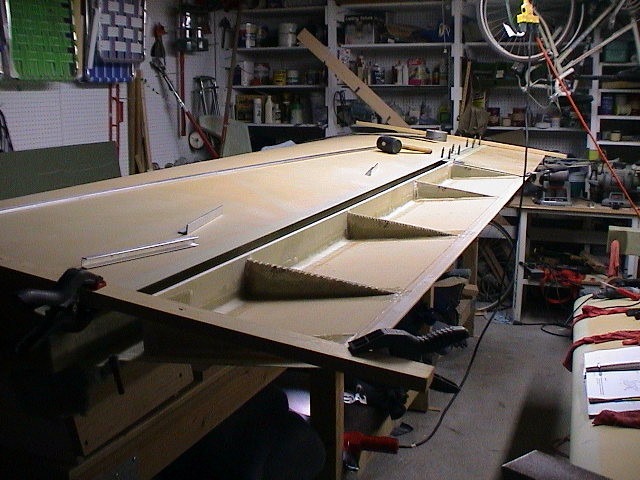
Next step it a very repeatative process of position, check for clearance, sand it down and repat the process until it fits, has enough clearance to not bind when finally painted. |
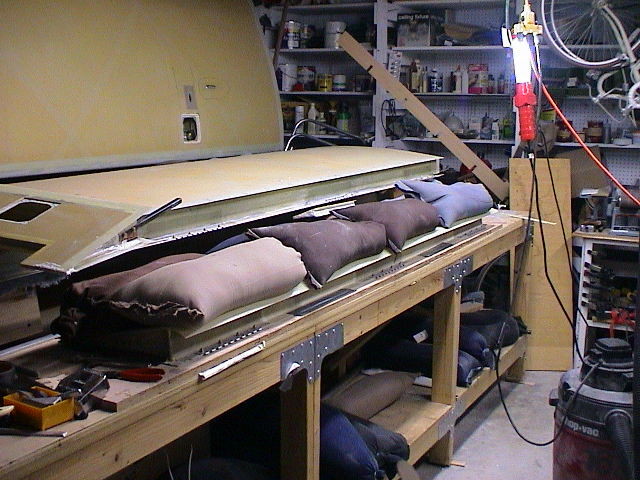 |
Finally, close it out with plenty of weight to hold it in the proper position. The weight is not so necessary for the bonding process as it is to help remove a slight bow in the molded flap. |
 |
After close out the curved edge is stiffened with a three ply bid. The ends are glassed as well and the flap is basically finished. |