
N247BR
Firewall Preparation
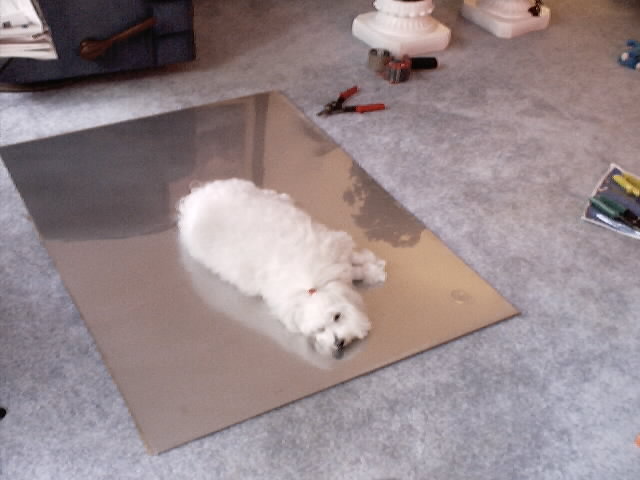 |
The firewall starts out as a flat sheet of stainless steel. I laid the sheet down briefly while I prepared the template but before I could mark it for cutting my dog found it. He thought is a very COOL place to take a nap. |
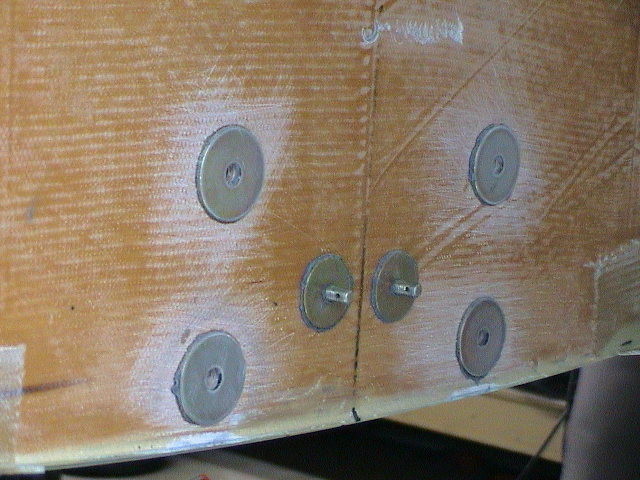 |
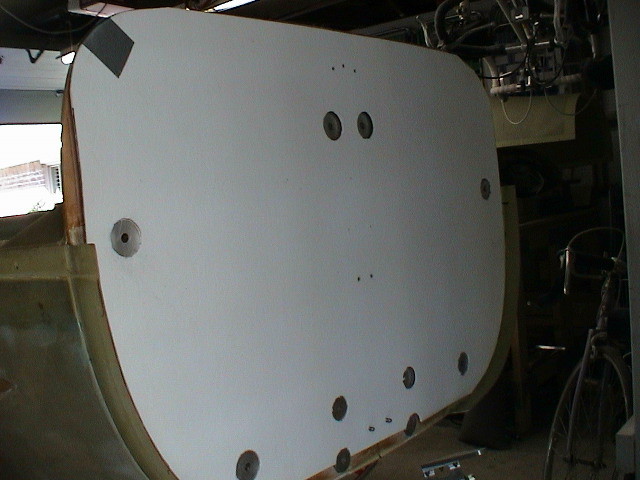
This shows the forward face of the firewall. The four outside washers are for the landing gear. The two inner ones are for the rudder return springs. For the major componets I placed washers between the wood firewall and the stainless steel. |
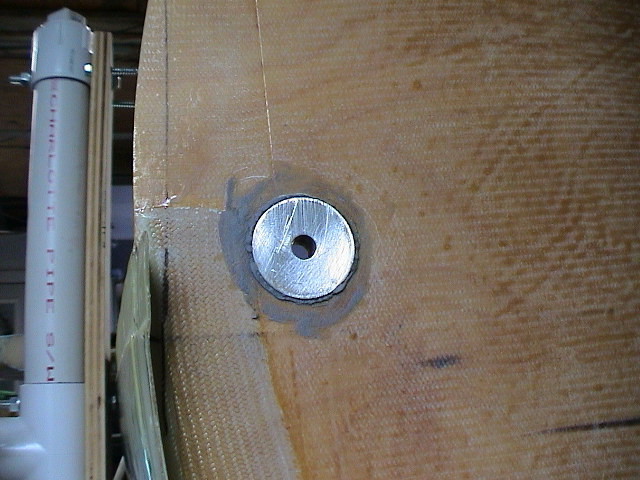 |
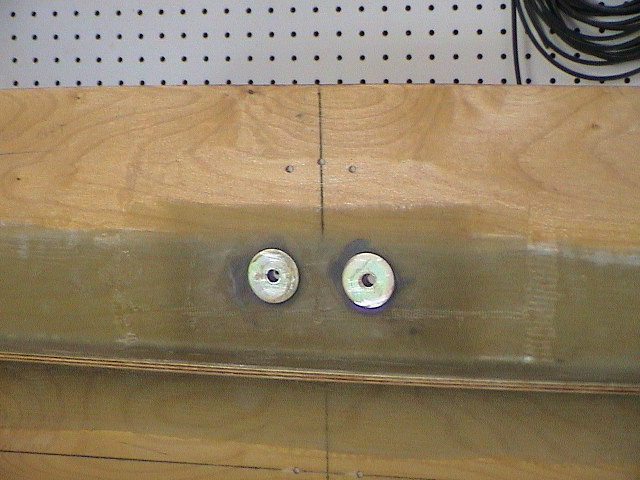
The motor mount is reinforced with washers on both sides of a brass bushing. |
 |
The primary washer is bonded into place on both sides of the wood firewall with the bushing between. |
 |
I also bonded the washers on both sides for the upper nose gear mounting. I did not use additional bushings for the gear. It doesn't show up very well but I also installed an extra 6 layers of glass under these washers. |
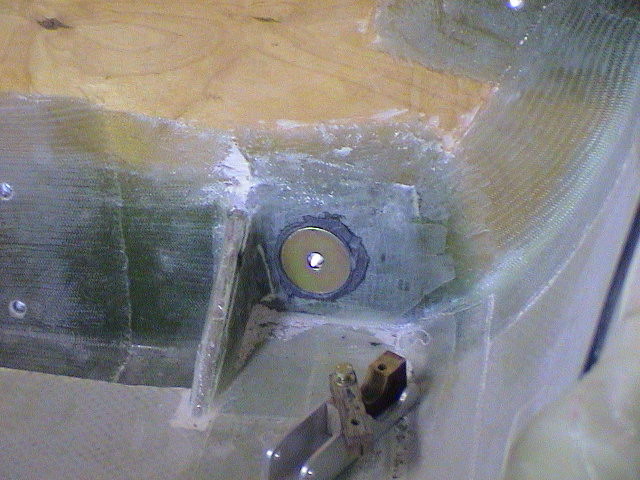 |
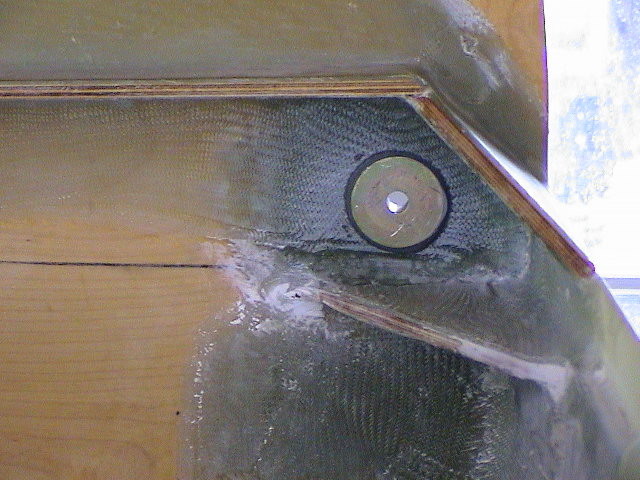
This shows the lower engine mount washer bonding. I used the same adhesive I used for the wing close out with flox fibers added to form a thick paste. The glass here was not flat so the adheasive leveled the area when the washer was bonded. I installed the engine mount while everything cured. |
 |
Here you can see the fiberfax tacked in place with the area of the washers cutout. This will give a solid mount under the primary mounting points. I wanted to ensure that there would be no compression of the engine or nose gear mounts. |
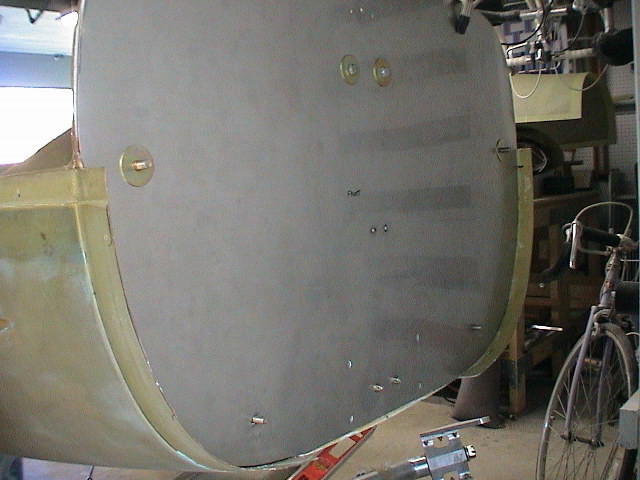 |
I have applied the fiberfax glue and placed the firewall in place while drying. This shows a clear view of the complete firewall before we start trying to find room for everything else that will eventually have to be installed. |
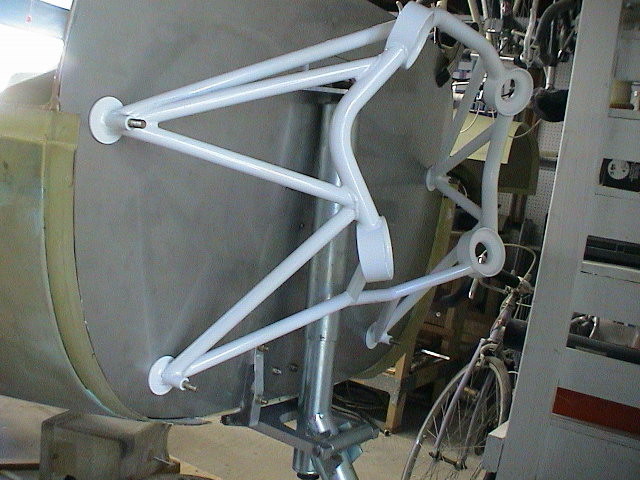 |
Finally, a trial fitting of the engine mount and nose
gear.
Looks good. |